I had been looking at high wainscoting as an option for our family room for awhile now.
The term wainscot traditionally meant to line the walls with timber. The definition of it has changed over the centuries and now as a general term it refers to a decorative panel applied to the walls at heights from 3-5′ between the baseboard and chair rail or dado rail.
Our Family room is open to our kitchen and although I loved the room it never felt quite finished to me…
I thought a weberized version of high wainscoting would work well…
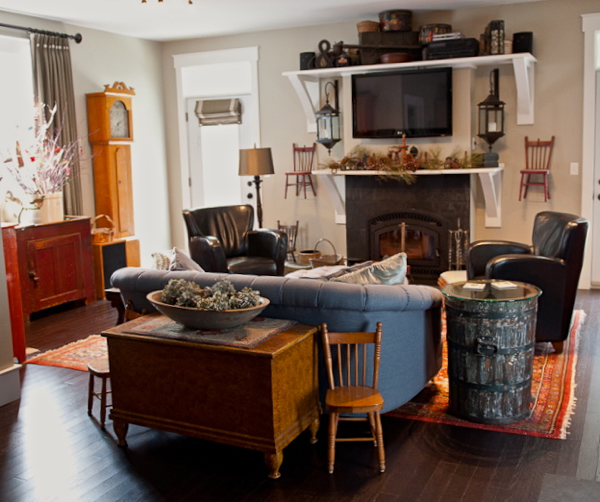
You can see from this photo what the room looked like before. It was a relaxing place to sit and watch T.V.
I just wanted to upgrade the look a bit to match the visual weight of the millwork in the kitchen.
The corbels around the fireplace match the ones on the exterior of the house.
I love them but I wanted to bump it up a bit visually and I was confident this treatment would do the trick!
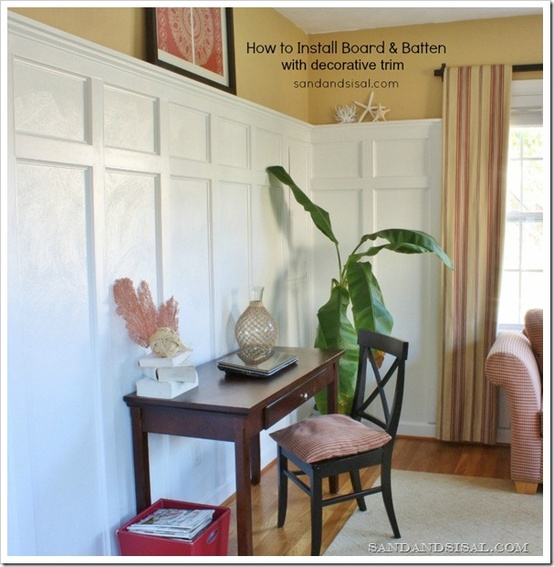
I found a fantastic tutorial from Kim over at Sand and Sisal. She had added board and batten style wainscoting in her home and did a wonderful job of it. I asked her if I could link to her post and she agreed so here you go… Wainscoting Tutorial via Sand and Sisal.
Meanwhile… back at the ranch so to speak, we got started on our project.
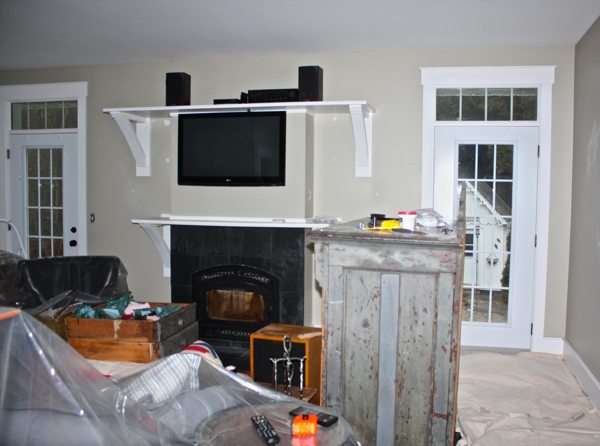
We cleared a path… why do we have so much stuff?
We filled holes and started to measure off the room. I decided to bring the colour from the bead board in the kitchen around the family room above the wainscoting, so we did that painting first.
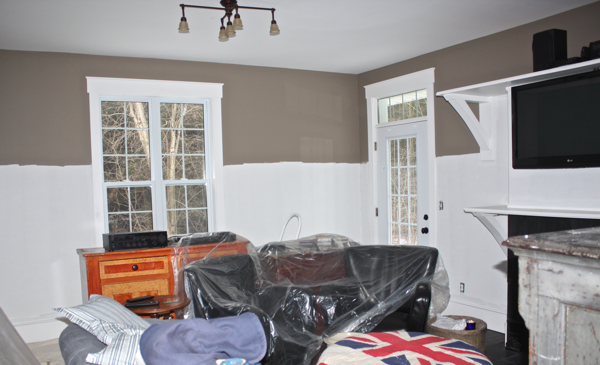
We also primed the walls to the finished height of the wainscotting.
Now we were ready to add the trim… and then paint…
Interested in seeing how it came out?
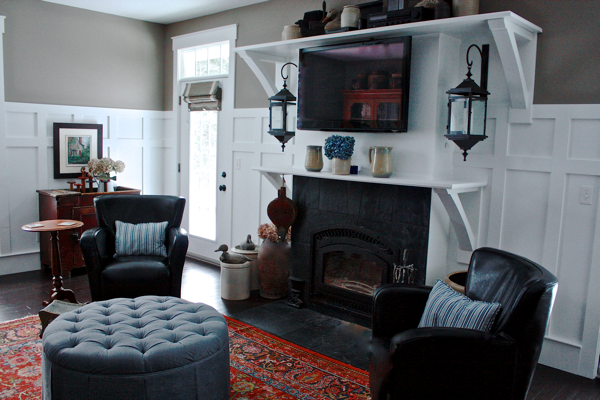
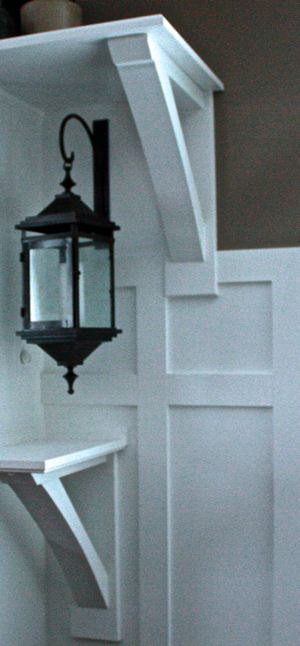
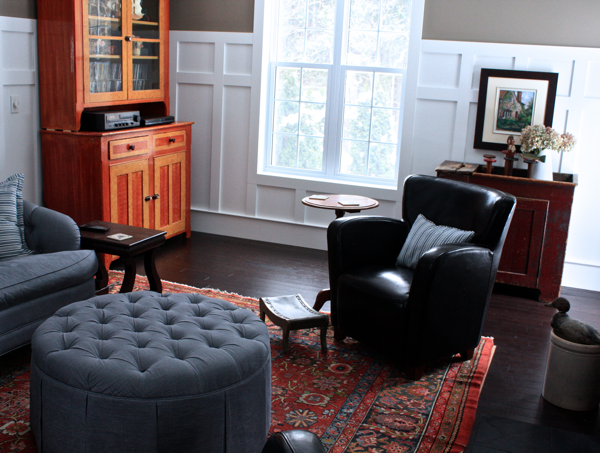
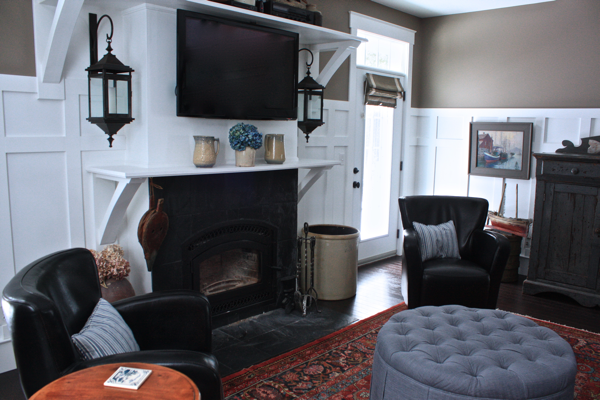
Well… what do you think?
The materials for this project were minimal… but the effect is exactly what I was hoping for.
It took Kent and I three days of labour and approx. $250.00 in supplies including paint. I wish we had done it years ago!

