Has this ever happened to you?
You have something that is in fantastic shape, was an investment when you bought it but it just doesn’t go with your design anymore?
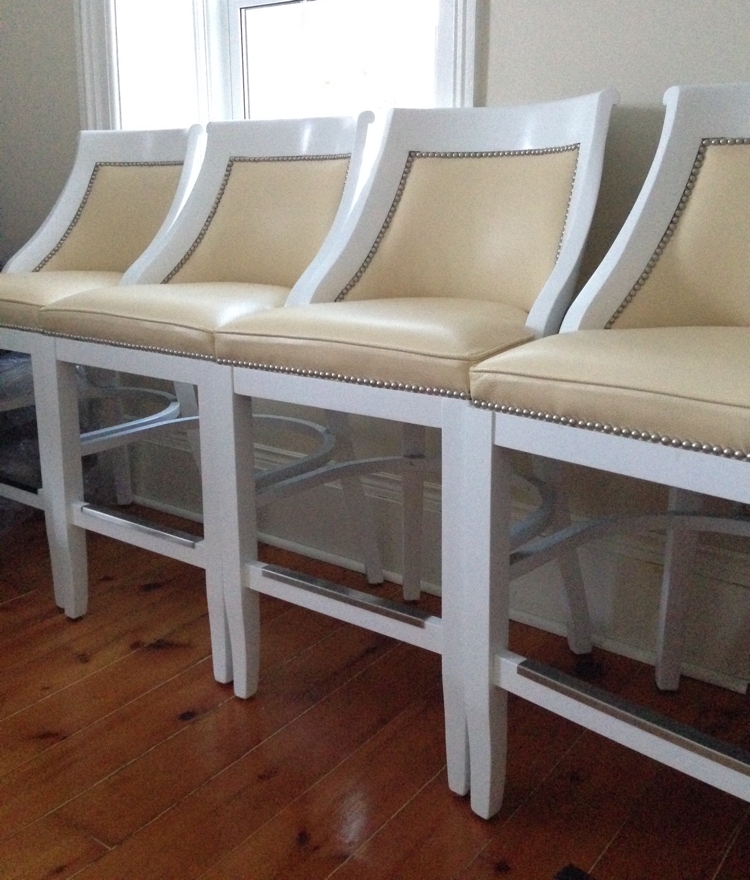
Well, that is exactly the situation I was in with these beautiful barstools!
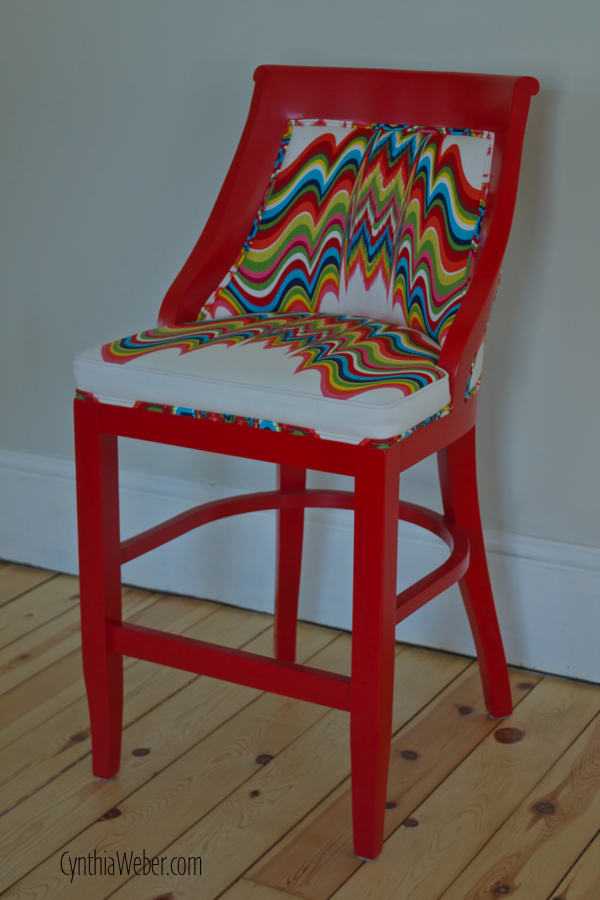
I have used this curvy styled barstool before in client projects. They are custom from Gresham House Furniture and are available to the trade.
You may recognize them from our client diaries series.
For that project they were painted in a vibrant red and upholstered in a jazzy pattern called Distorted from the Jonathan Adler collection for Kravet.
To see that Kitchen Reveal Click away!!
Now back to my little situation…
As you know we are in the middle of a large kitchen renovation here at BannockBurn 1878. All the elements are coming together nicely. The big reveal is still about a month away but I am putting things in place and am quite pleased with the decisions we have made so far.
The barstool issue was really wearing on me though.
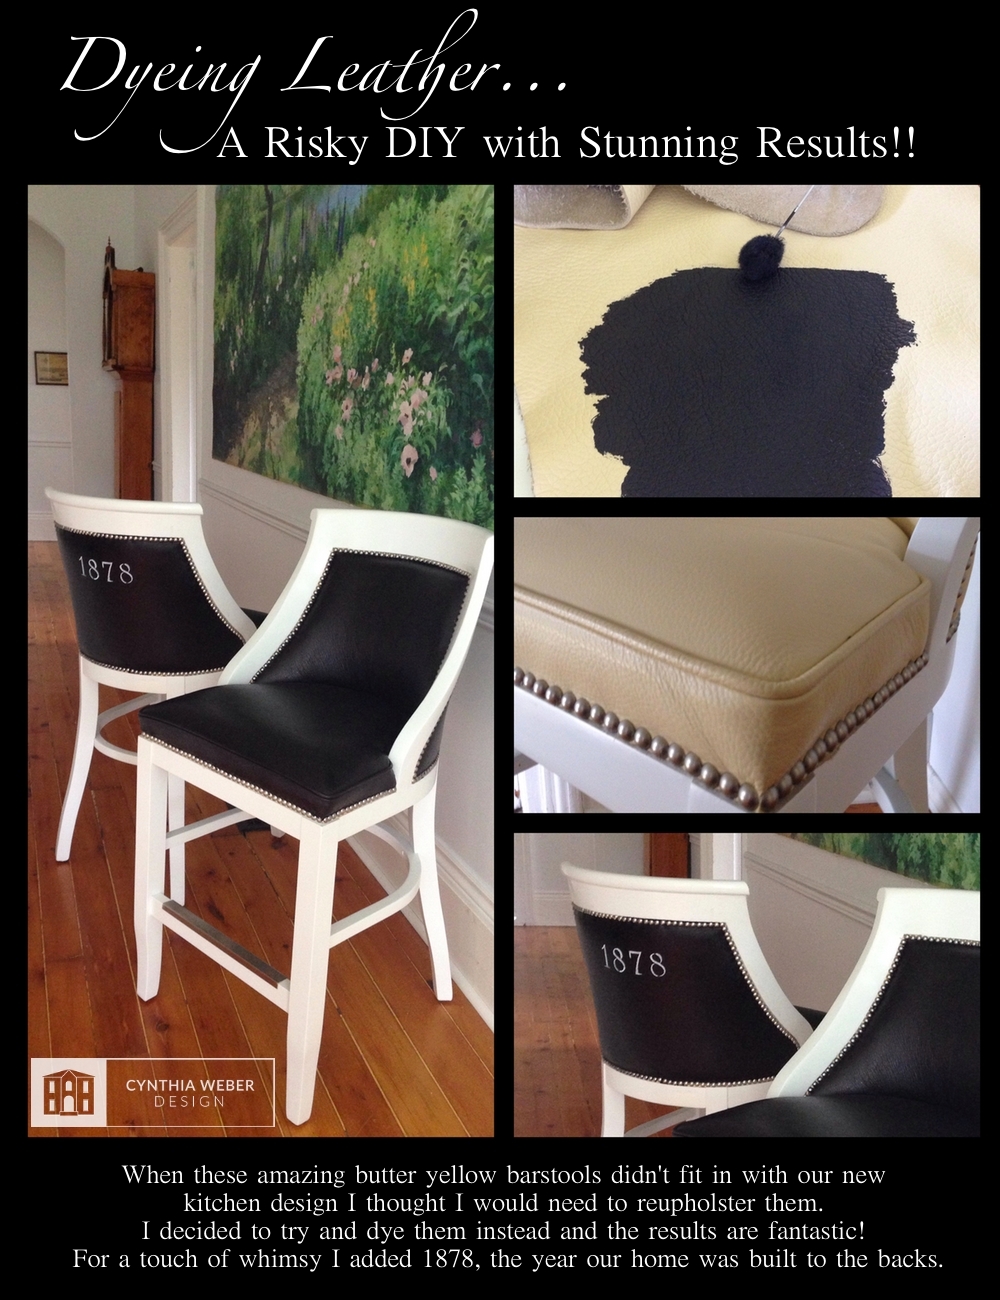
We had this set of four stools done in a high end butter yellow leather. The stud detail and matching foot rail cap set everything off so beautifully. The idea of tearing it all apart to reupholster them made me cry.
But, I also had zero intention of using them in the new kitchen design… they just didn’t suit!!
I came up with a plan…
I would dye them!!!!!
Please take a moment to visualize the copious amount of eye rolling Kent subjected me to after that little announcement!
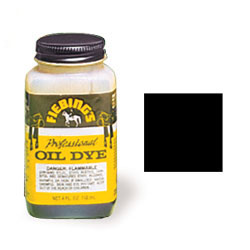
Anyway. I did some research and ordered Fiebings black leather dye as well as the deglazer through Tandy Leather.
It arrived and I set to work!
To be completely clear and candid.
I had no confidence that this would turn out at all.
In fact it was actually a last ditch effort before ordering fabric and booking in with our upholsterer.
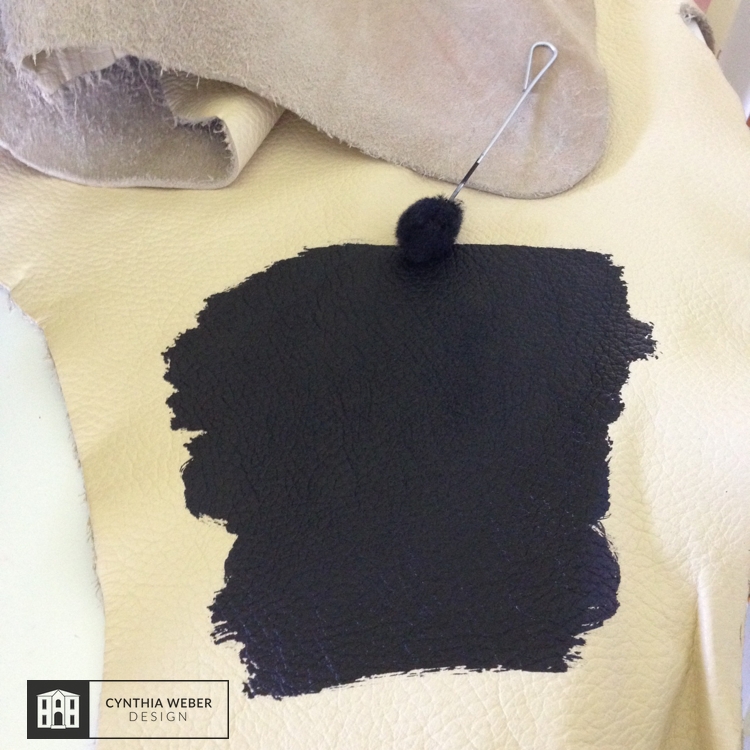
I followed the instructions which included a wipe down with the deglazer to remove the surface finish and get the leather ready to accept the dye. Then using the small wool daubers they recommend I started experimenting. Luckily I had an extra piece of the hide to practice on.
That first black blotch on the first barstool was very nerve-racking I don’t mind telling you.
It was a trial and error sort of process. The most difficult decision was about how to attack the studs. I ended up daubing the dye up to the studs and then using a very small artists paintbrush to flood the area around each stud with dye. I then rubbed excess off the stud after the dye had dried. I did need to be careful not to get near the wood frame of the barstool with the cloth I used to buff with. The dye would transfer easily onto the frame. I was able to remove any transfer with a bit of the deglazer interestingly enough!
After they were buffed I added 1878 onto the backs using the number stencil style 94 from Yankee Stencil Co. ( it is a great font I have used on a few projects in the past! ) .
I am researching what to top coat them with to seal the leather and hopefully eliminate any dye being transferred to clothing or skin.
I will let you know how that goes!
If you like the project please Pin it! You know I love to get pinned!!
Now I am off to tend the gardens, paint the dining room, follow up with a very wonderful client whose project is in full swing and if there is any time left in the day…
I will most likely have a glass of wine on the porch!
I hope you are having a creative and enjoyable week!!
