When I was planning the renovations here at BannockBurn 1878 I knew I wanted to incorporate some vintage pieces.
The house seemed to beg for it!
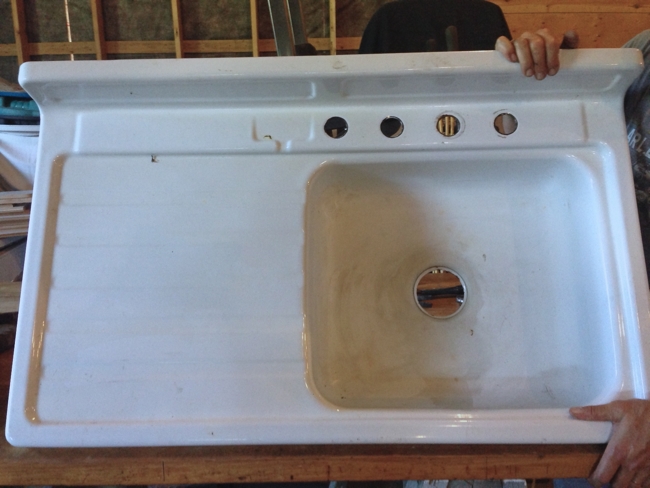
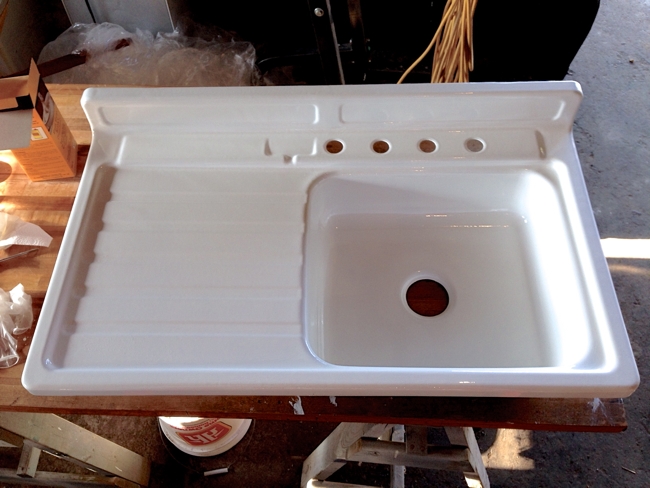
So… many years ago my parents gave us this vintage sink.
It was in their attic.
They took it out of their kitchen around the time I was born…
I will just let you guess when that was!
I always thought the drainboard aspect of it was interesting… and quite practical.
After much debate about whether or not it was worth the time and effort to try and restore it…
We decided to give it a try.
This is the process we used and my experience doing it:
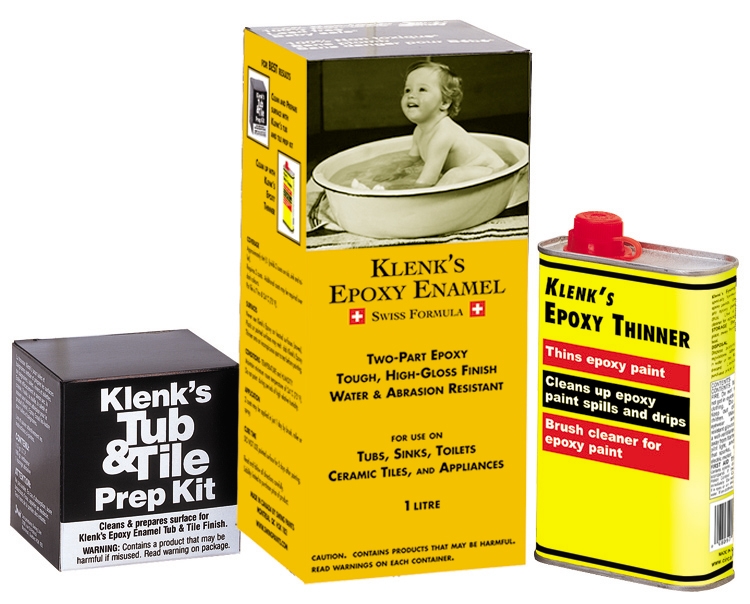
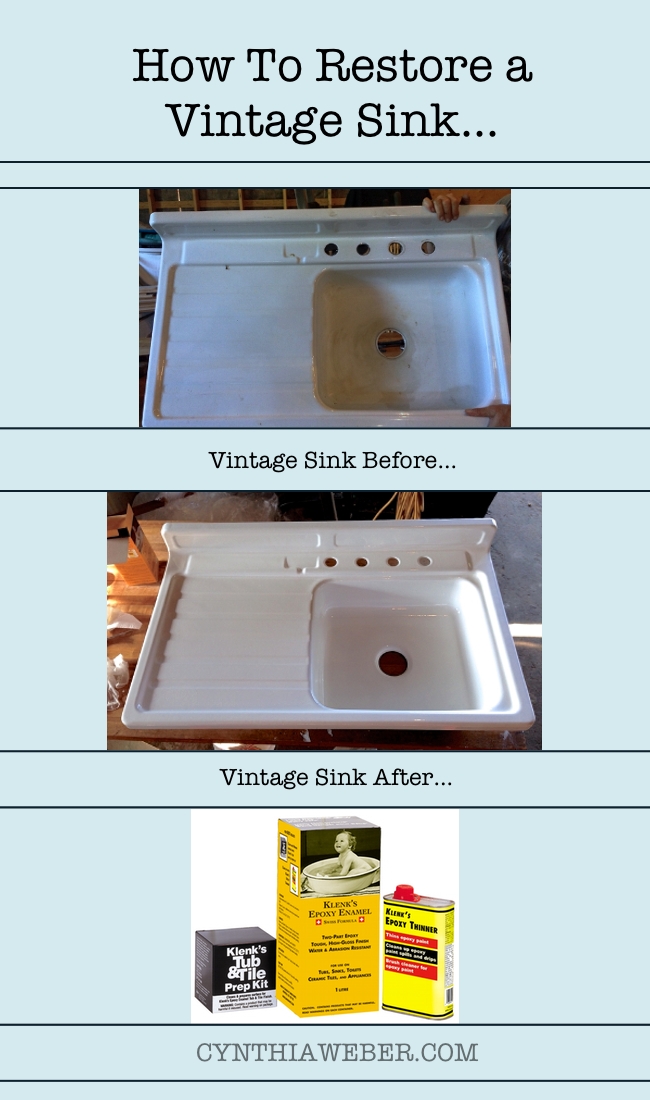
I bought this kit from Klenk’s. The instructions for prep and procedure are clear and easy to follow. I have cut and paste the full instructions from their website.
Just so we are all clear about things…
I have no affiliation with this company and was not compensated to write this post.
also… I followed MOST of the instructions… and I have no doubt that it would have turned out even better had I completely followed the instructions. I did go off road so to speak just a bit because I needed to sand and did not have the recommended 400 grit paper. I had 320 and that is what I used.
Ok… back to the process:
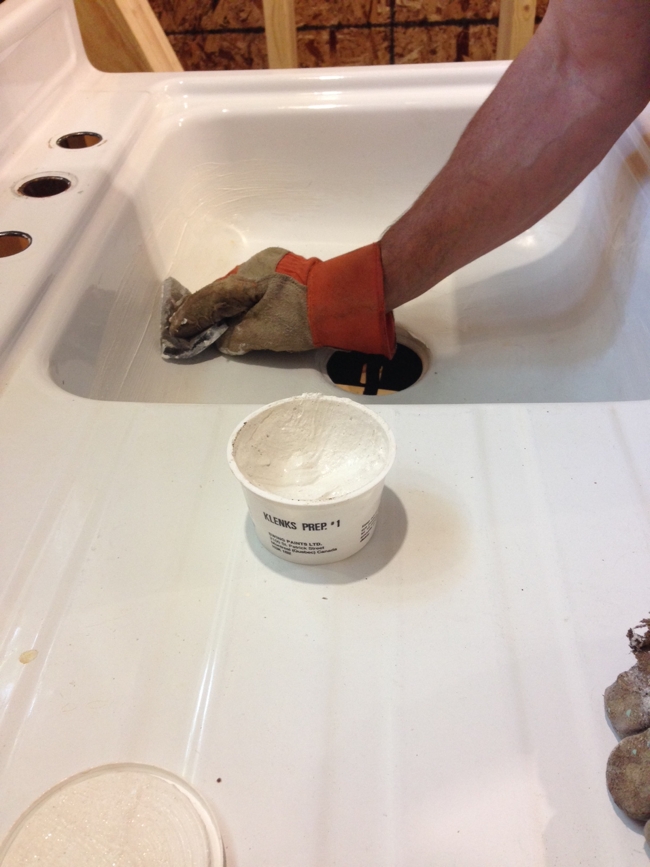
CLEANING: WEAR GLOVES. Apply Klenk’s Prep #1 Cleaning Compound to abrasive sponge. Rub the Cleaning Compound onto the surface in a circular fashion. Thoroughly scrub area where caulking was removed. Rinse surface thoroughly with warm water.
Kent did this step and the following one with TSP.
WEAR GLOVES. Dissolve the TSP powder in 4-8 litres (1-2 gals) warm water. Scrub the surface using the sponge soaked in TSP solution. Thoroughly scrub area where caulking was removed. Rinse surface thoroughly with warm water. Allow to dry completely.
Now it was my turn to help.
Stir the contents of both cans, Parts A and B, separately. Pour the contents of Part B into Part A. Stir the mixture. Close lid. Allow mixture to stand for 1 hour.
APPLICATION: Apply masking tape around edges, outlets, handles, taps, overflows, etc. Completely cover taps.
1st COAT (BRUSH OPTION): Stir the contents and apply a thin coat of Klenk’s Epoxy using a clean, 1″ brush. Paint the surface in 6″ squares using vertical strokes, smoothing the finish with even horizontal strokes. DO NOT GO BACK AND FORTH OVER PAINTED AREAS. Painted surface will look smooth after the second coat.
After the first coat was on I left the sink in the barn to dry. I knew I couldn’t get back to it that day so I opted for the 2nd coat next day option and put the paint in the freezer.
2nd COAT (SAME DAY): Close lid tightly. Wait 2-3 hours prior to applying a second coat. If the surface is still tacky, proceed to 2nd COAT (NEXT DAY) application. Stir the contents and apply a second coat as directed for 1st COAT. Offset each 6” square if using a brush. If necessary, wait a minimum of 2 hours prior to applying a third coat. DO NOT USE IF PAINT HAS BECOME VERY THICK.
OR
2nd COAT (NEXT DAY): Close lid tightly. Place the remaining Klenk’s Epoxy mixture in a very cold (less than 0°C) place for approx. 20 hours. Take added precautions if storing in freezer to prevent transfer of odours. Prior to applying a second coat, loosen the lid and allow the mixture to stand for 1 hour to reach room temperature. Stir the contents and apply a second or third coat as directed for 1st COAT. Offset each 6” square if using a brush.
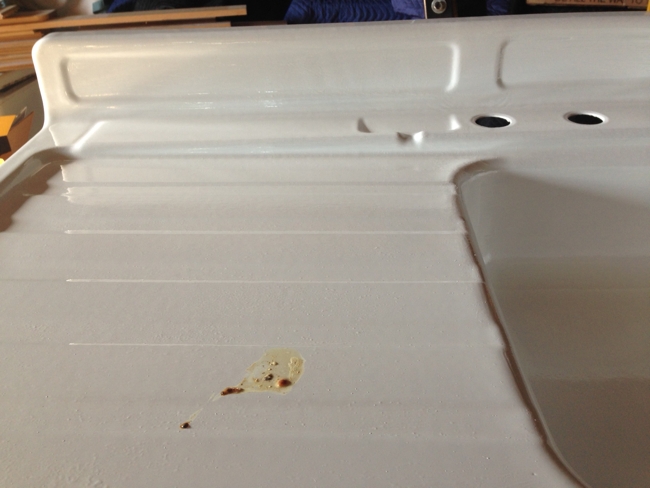
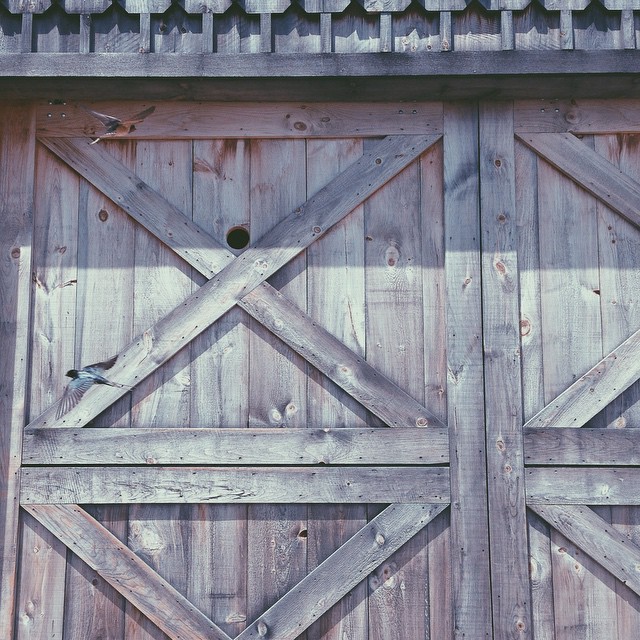
Remember that hole Kent put in the barn door to allow the swallows to get in and out of their nests at night?
I am not as fond of that decision this week!
Anyway…
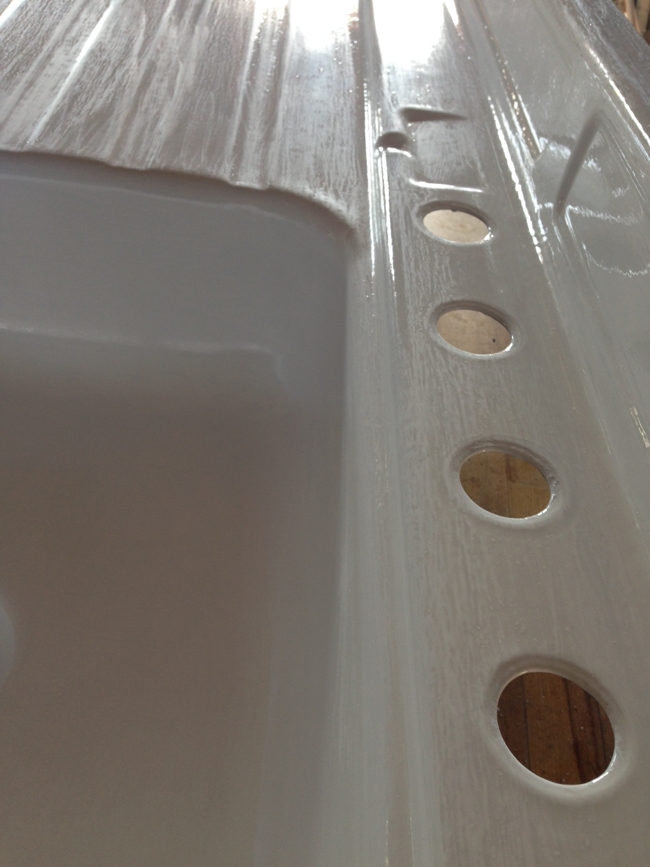
Due to the nice little present left to me by my feathered friend I had some cleaning to do before the second coat. I then gave a light sanding to the whole sink. There were tiny pits or bubbles in the finish. I think it may have been a combination of the weather conditions and perhaps the quality of my brush. The tips given on the instructions say to sand with 400 grit paper if you need to. As I mentioned above, I didn’t have that so I used the 320 grit.
After the sanding I wiped the sink down and painted it again.
I actually did two more coats since there was lots of paint.
Luckily there were no more bird incidents.
I am pleased with how it turned out although the tiny bumps did continue after each coat. I decided it was what it was and it actually has a nice vintage feeling with them in. ( That is what I am telling myself :))
In other news…
Things are going very well with the rennovations…
I am hoping that another few weeks will see most of it completed.
The big job this week will be finishing the white oak floors so the cabinets can be installed.
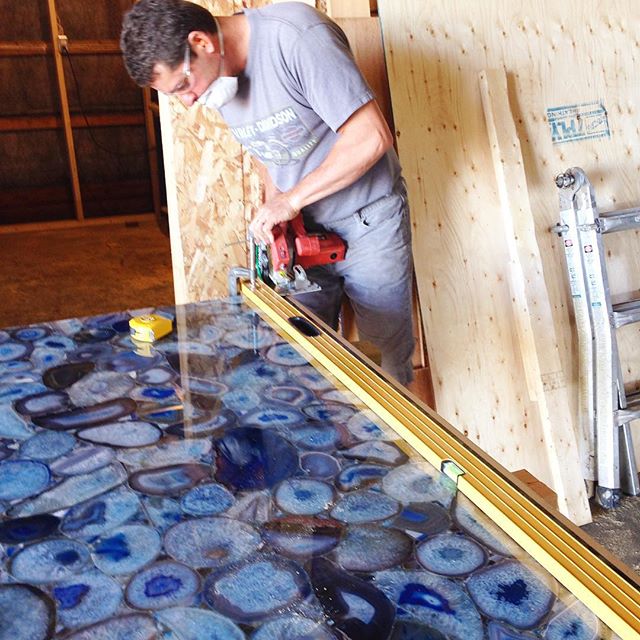
If you have been following along on Instagram you will have seen Kent cutting the Blue Agate…
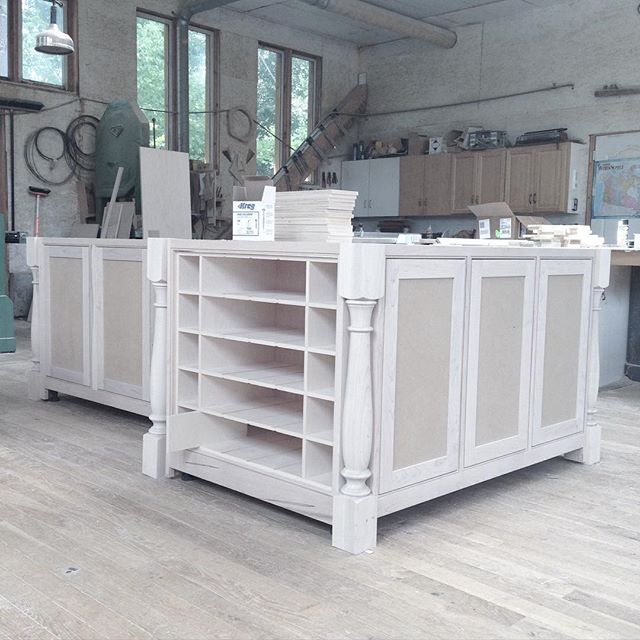
and the teaser showing the progress of the kitchen island at the cabinetmakers shop.
I am off to mow lawn and do some gardening…
Have a fantastic day!

