Sometimes it is fun to take on a little project on a whim…
Don’t you think!?!
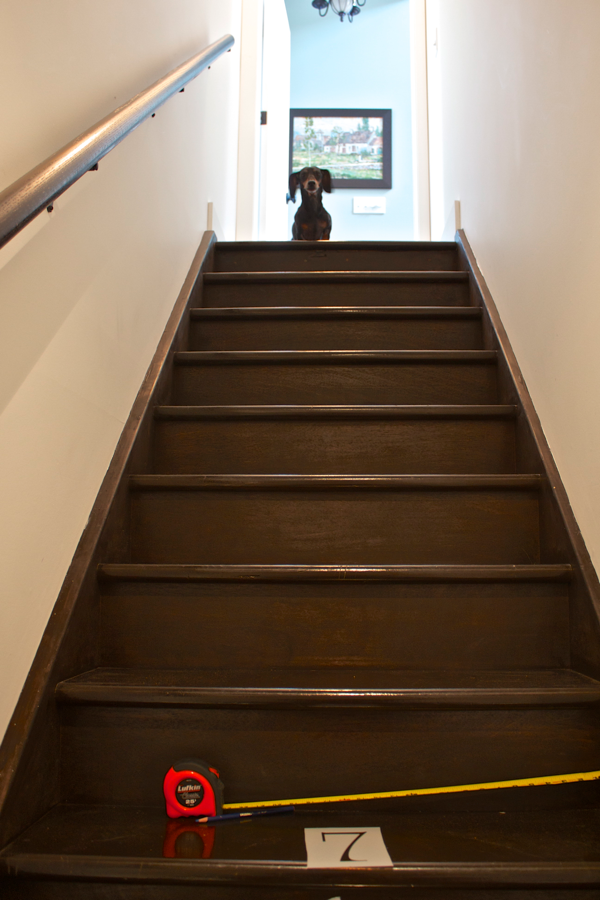
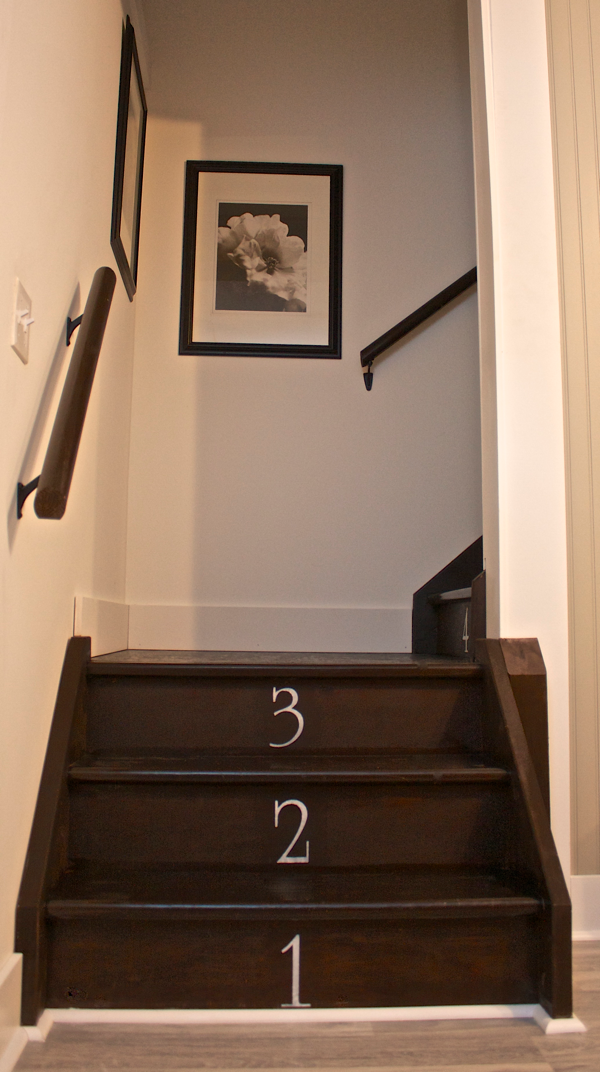
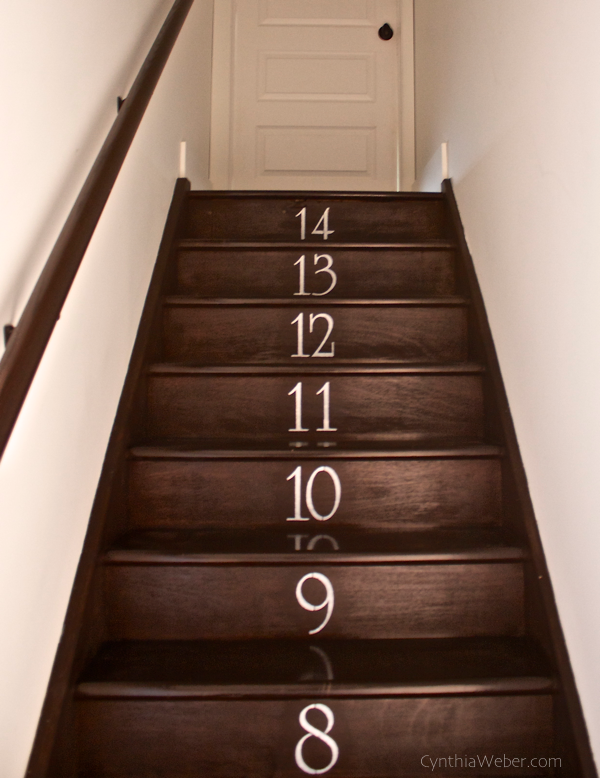
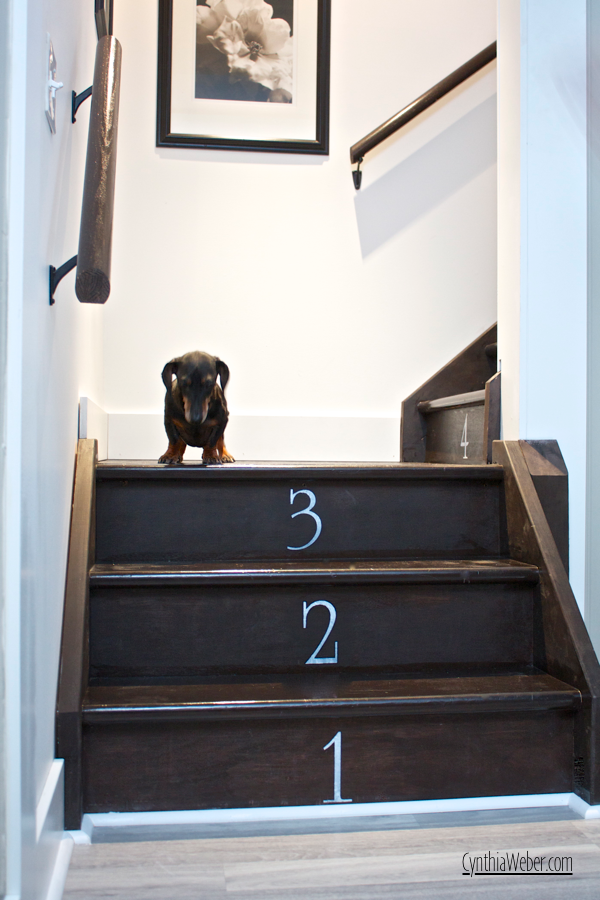
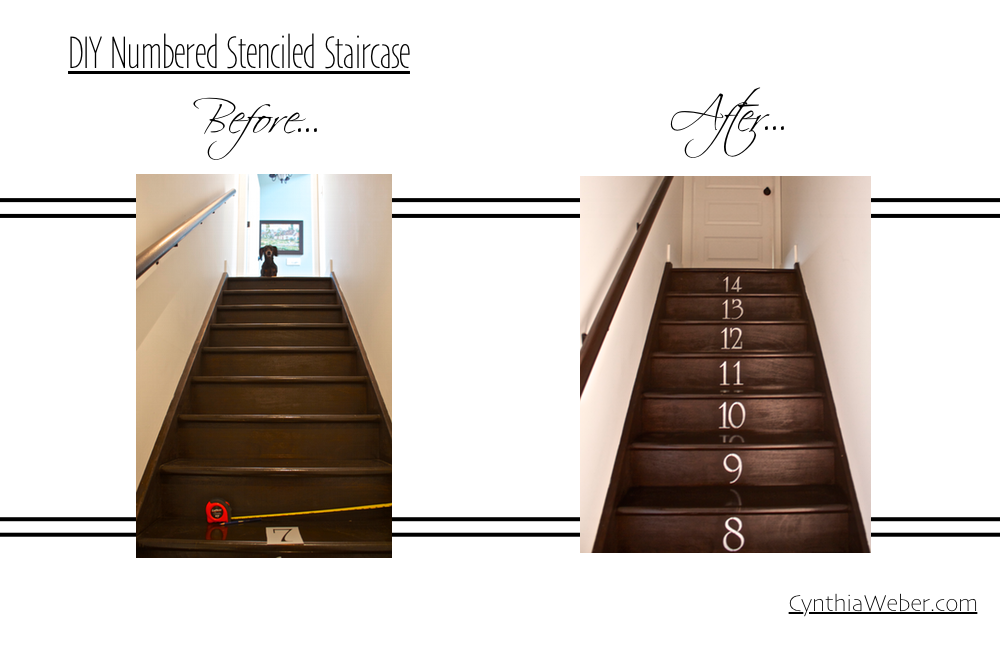
This weekend I decided to stencil numbers on my basement staircase.
They were boring!
Even Emmitt thought they needed a boost…
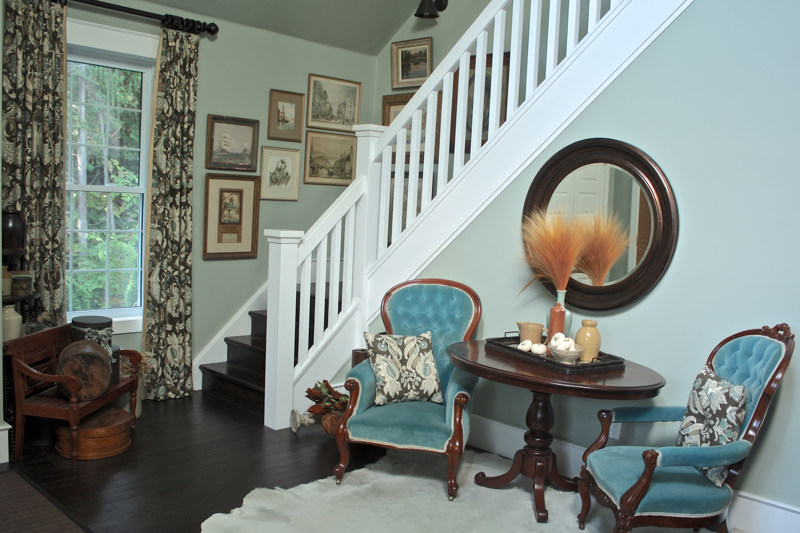
Our upstairs staircase is more formal with a gallery wall and pretty white railings.
The basement stairs are more pedestrian with a dark handrail and the same dark stain.
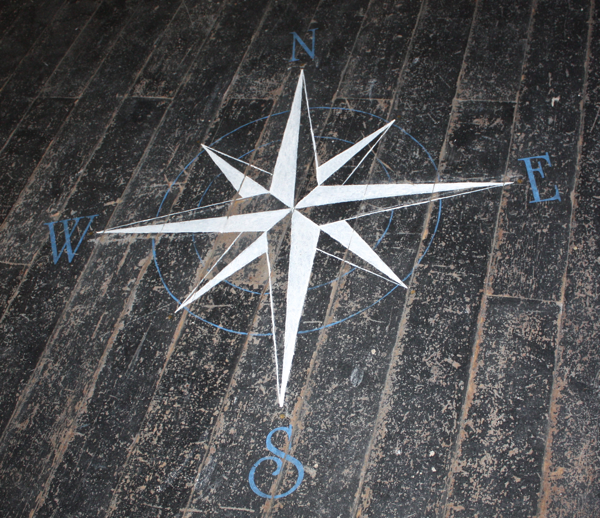
I had purchased a set of 5″ Alphabet stencils from a company I found online called Yankee Stencil Co for the Client Diaries floor compass project.
It turned out beautifully and I was anxious to try another project with them…
Several wonderful Numbered Staircases had caught my eye on Pinterest so, it seemed like a good idea to give it a try!
If you are looking for Alphabet stencils I can recommend Yankee Stencil Co. ( I have not been compensated for this post I was just really pleased with them )
They have a wonderful selection and I had a lot of fun deciding on what font style to buy.
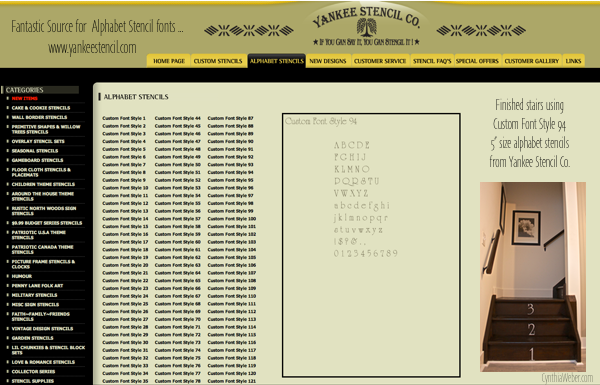
I ended up with Font Style #94.
You can see here the website page that shows Style #94
Spoiler alert…
As you can see I added a photo of the finished steps to show that the results you will get are in fact a very good match to the example they show online.
You can order the sets in various sizes.
I ordered the two inch and the five inch set.
The five inch are what I used for this project.
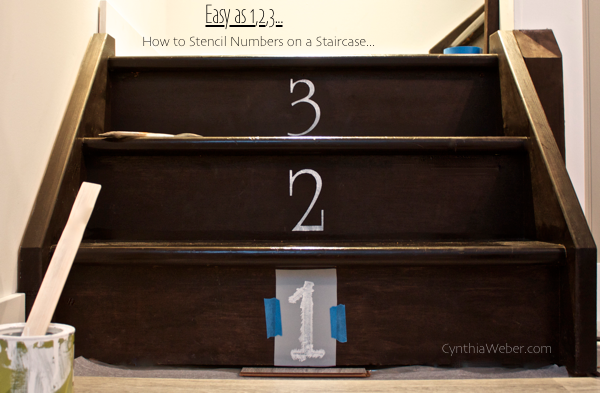
I started by measuring the stairs to find a centre point.
Then I Started with the 3 and worked my way down to 1.
I did not use a stencil brush, instead I used a small artists brush.
I kept the brush quite dry and just slowly dabbed the paint onto the area. I find it is best to hold the sides of the stencil down while you work. This keeps excess paint from getting under the stencil and smudging.
You can buy stencil spray adhesive… As you can see, I did not go that route!
I am by nature a risk taker when it comes to painting.
I also don’t use painters tape and have been known to paint in good clothes…
Please don’t judge me, we are all friends here n’est-ce pas?
I think they are fun although at this point I must admit that second flight of stairs looked much longer than when I started. 🙂
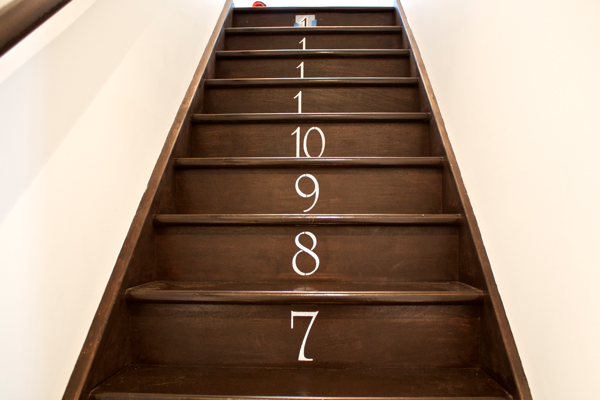
I finished up to #9 and then I began to centre the two numbers on the centre point so they looked even.
I decided to do all the #1’s up to the top to get them as straight as I could.
It did make it much easier to line up the second numbers.
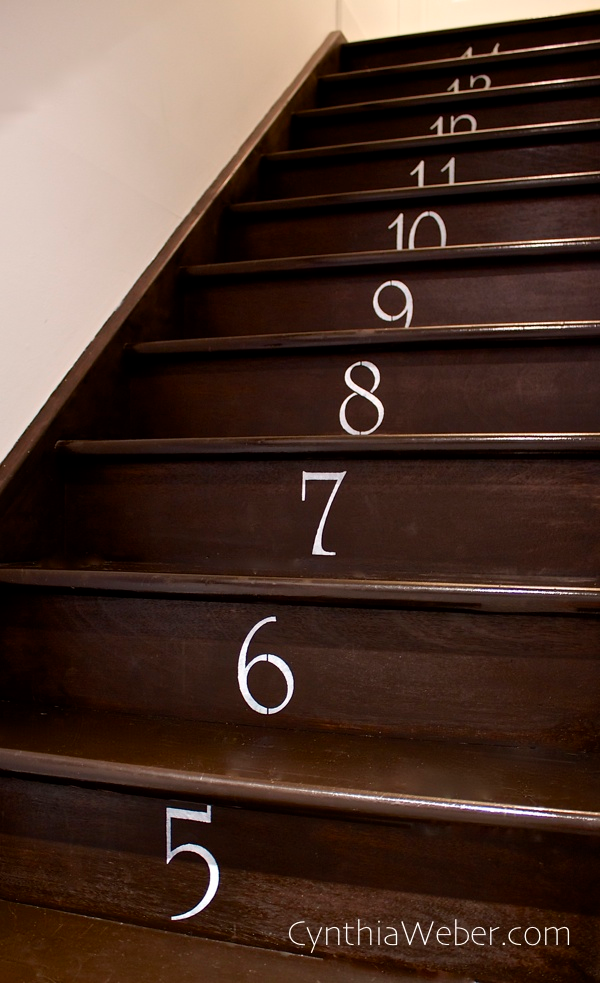
I had a bit of a panic when I thought I was going to end up with #13 at the top step…
It seemed somehow “Unlucky” but, I had miscounted and all was right with the world!
It was then time for final inspection…
He likes them!
I hope you do as well!
From start to finish this numbered staircase project took me 2 hours.
That included cutting the stencils ( they come in a long strip ) , measuring, painting, clean up and taking photos.
Writing the post and photo editing… not included!!!!
I hope you did something whimsical this weekend… and I hope you had as much fun doing it as I did! 🙂

I am sharing this project over at: Inspire Me Monday
