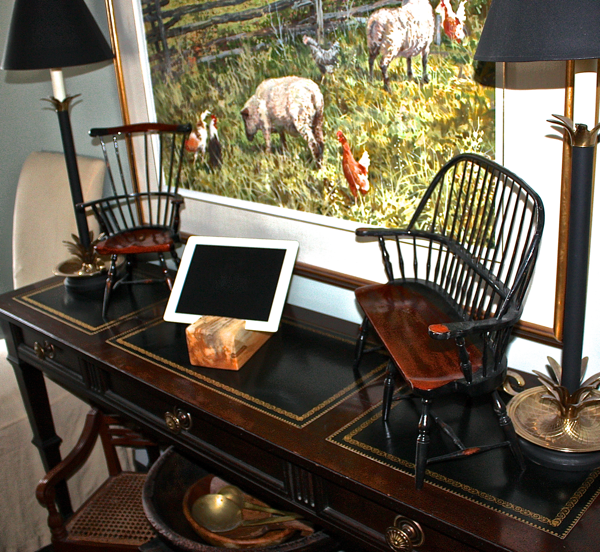
A few months ago Kent made a fantastic Spalted Maple Ipad Stand.
It has been so handy especially on the kitchen counter while cooking.
On Saturday I posted a photo on Facebook and got such a great response we decided to do a DIY post about them.
So here you go…
How to Make an Ipad Stand…
The Weberized Version…
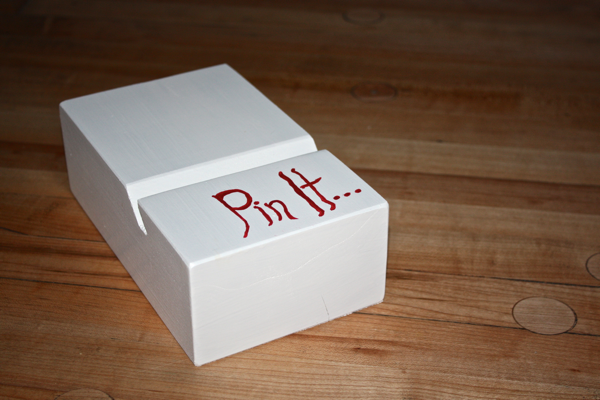
The finished size is around 8″ long x 4″ wide and about 2.5″ high.
Kent started by planing a piece of maple.
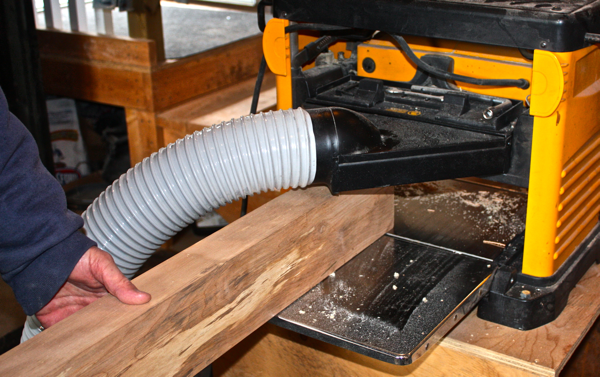
If you don’t have a planer you could use a palm sander or sandpaper.
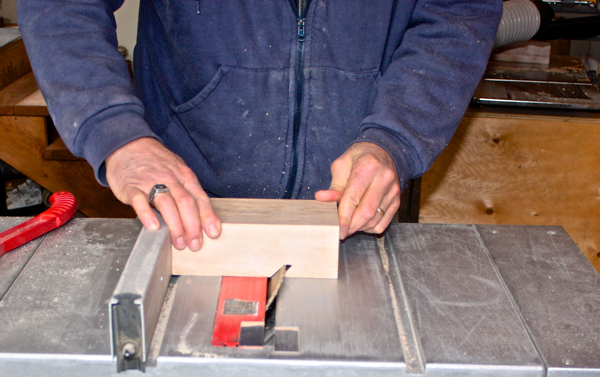
He then cut the board into 8″ lengths.
To get the slot that holds the ipad you need a table saw set at a 45 degree angle.
Set the fence to 5″ and make your first pass. Set the blade to cut about 1″ into the wood.
Gradually slide the fence over with each pass to make the slot wider.
Kent had the ipad handy to check the fit. About five passes worked well for him.
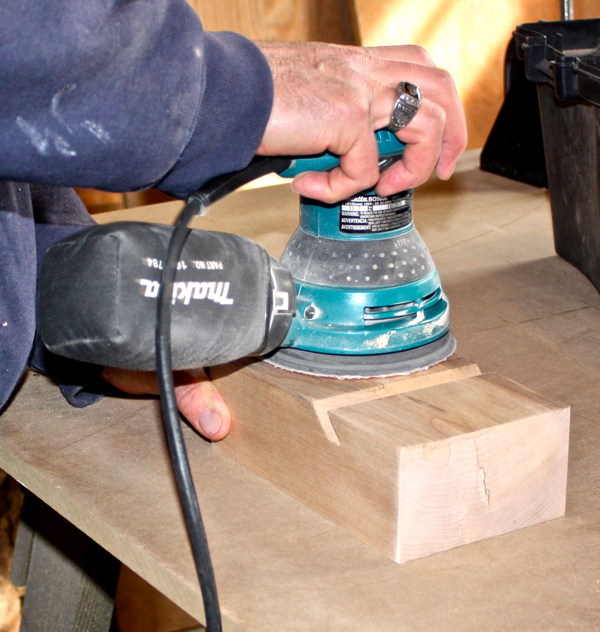
He moved the fence over a 1/16″ aprox. with each pass.
A final sand…
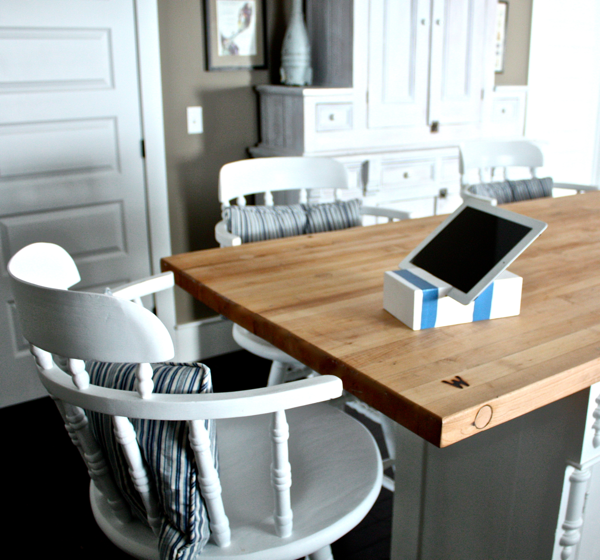
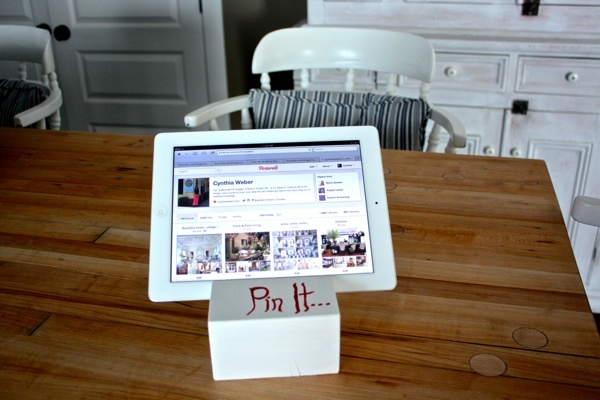
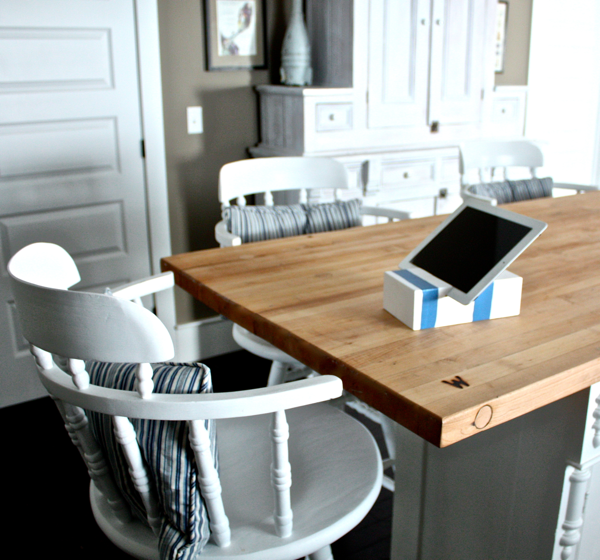
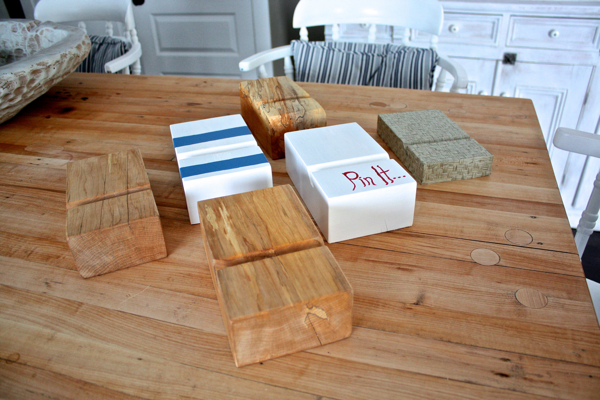
Kent stained a few with Danish Oil and I primed and painted two for a different look.
I wanted them folky and cute…
Beachy freehand stripes seemed just right…
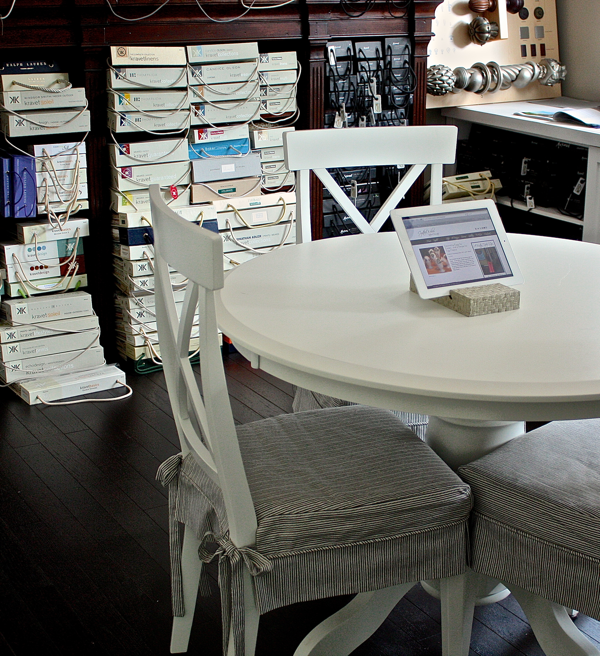
Kent also tried one with a scrap of oak that was only 1 1/4″ thick and it seems to work also.
That one I wallpapered as an experiment.
It will be nice for in the office.
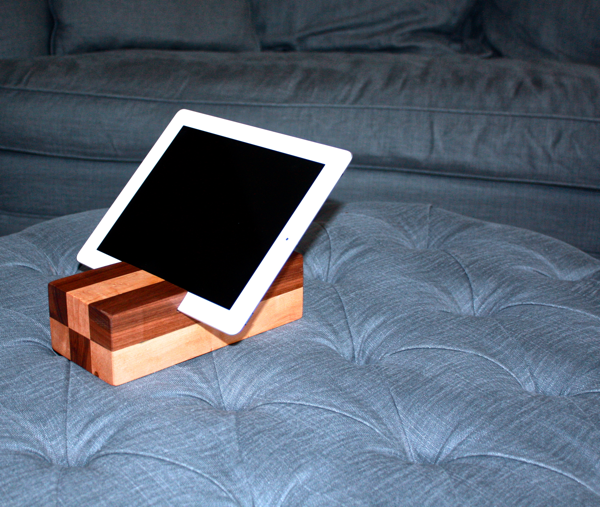
Now this last one would not be quite as easy to make but I wanted to include it because I think it is truly beautiful…
Kents checkerboard effect was created with birds-eye maple and black walnut… I want a whole countertop in it! Oh, what a good idea…
Send me a pic or two if you make your own version… I would love to see what you come up with!
We will be taking orders for the Spalted Maple Ipad stands… e-mail if you would like to place an order.
For those of you who like to Pin to DIY boards… Please “Pin away”

I am sharing this project over at: 

