Finally… A Reveal!!!
I know you have been waiting…
Patiently… ( thank you for that by the way ) for some after pics from the cottage reno!
Well, you are in luck!
Today I am sharing the entrance…
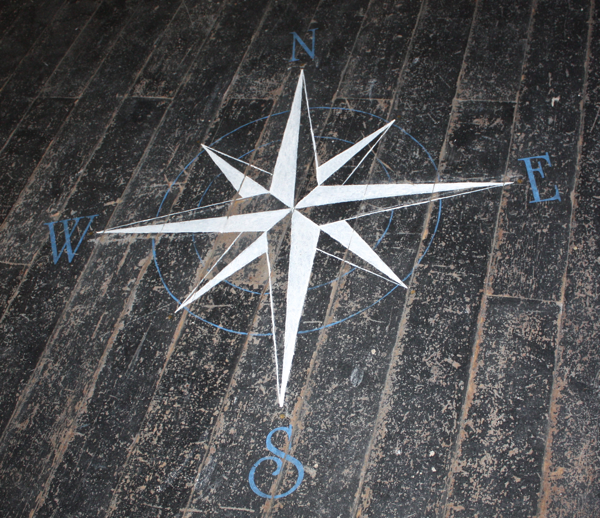
Complete with a hand painted floor compass!!!
I told you I had something interesting planned…
Do you love it?!?
I have to admit… I love it!!
Let’s go back to the beginning and see where we started from and how we got here.
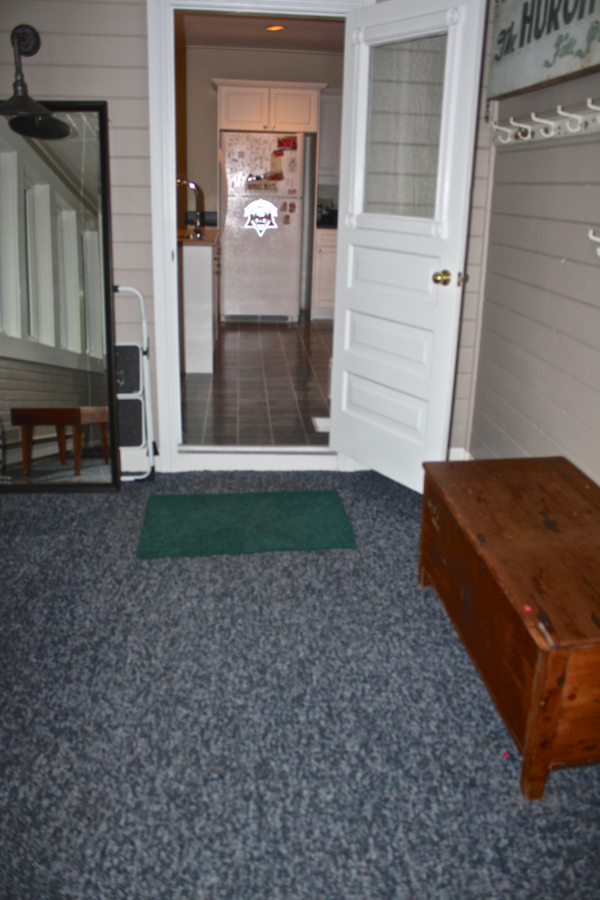
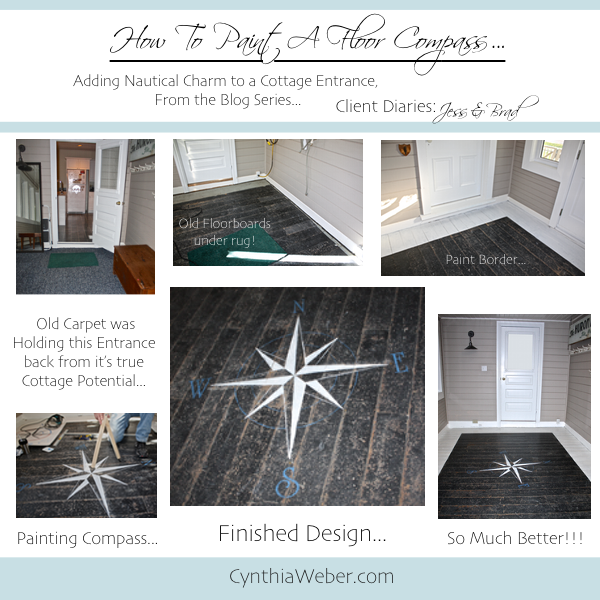
The entrance or mudroom at Jess & Brads’ cottage had some less than stellar blue carpet the day I first saw it.
The plan was to rip it out, lay pine floorboards then paint them for a relaxed feel that would match the age and style of the cottage.
I came up with the idea to then paint a compass on the floor.
They loved the concept and Brad thought it should point true North.
So, that was the mandate when “Demo” day began.
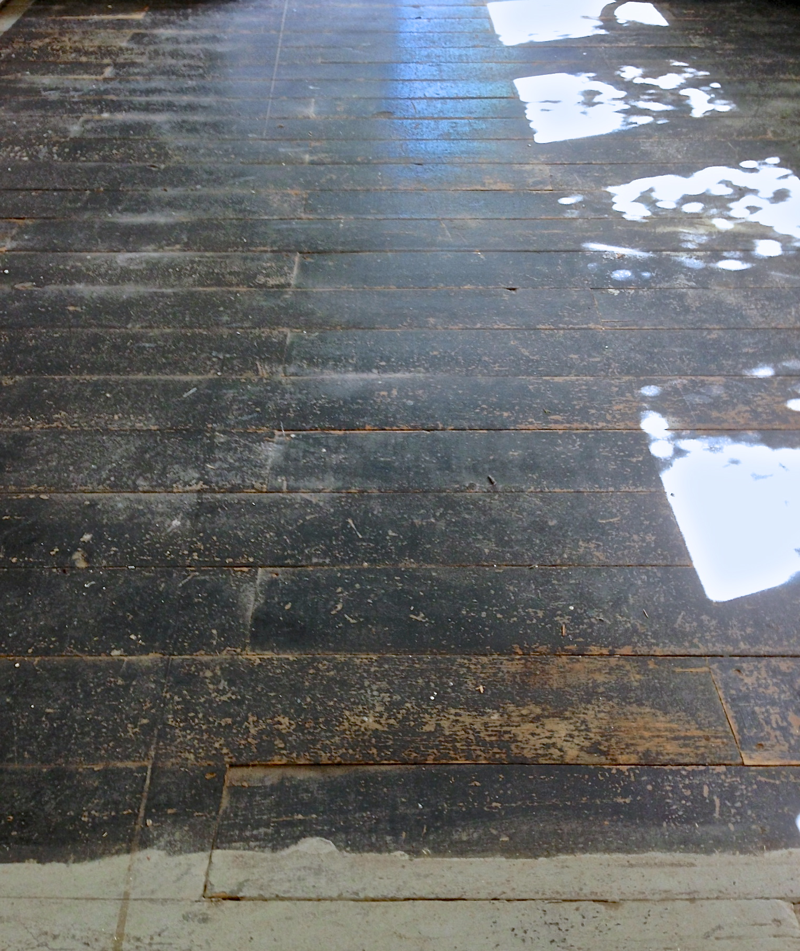
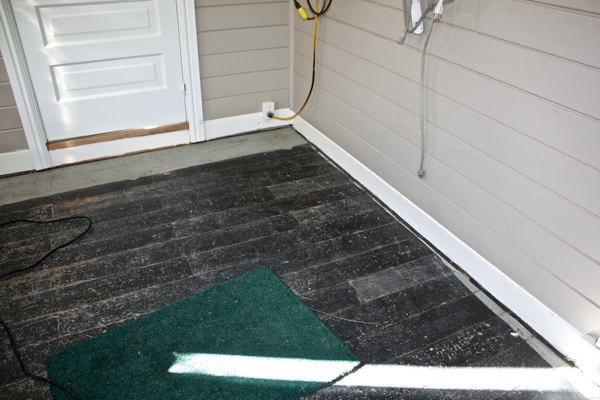
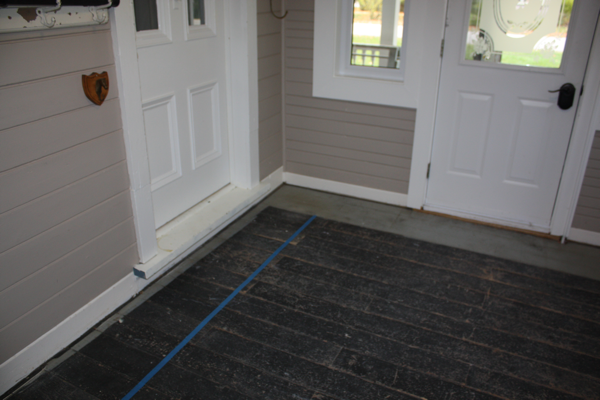
Then Kent found this underneath the carpet…
Beautiful faded and worn old pine floorboards…
It was a good day !!
If you missed that post you can catch up here…
I was giddy as a school girl!!
So, obviously the plan changed a bit to accommodate this unexpected treasure!
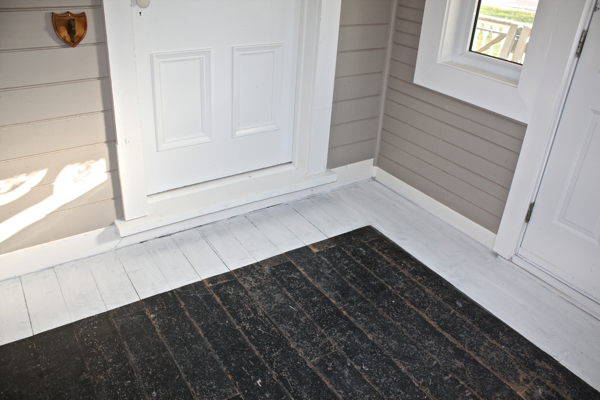
I loved the colour and patina of the middle area but at some point there had been a few incarnations of painting and an uneven border of blue had been added…
I would have loved to save it if it had been even but it just was random, not going all the way around and not lining up with anything.
I decided to overpaint a border with the trim colour and then distress it to fade it a bit.
I taped off at the two sides and used three boards at each end to create an even border.
After priming and painting I scuffed it back.
Now it was time for the fun part!!!
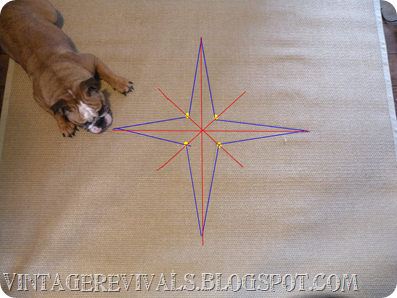
I had seen a great tutorial for painting a compass on an area rug from Mandy over at Vintage Revivals.
She gave simple and clear directions on how to achieve the star points. Pop over to see her full tutorial…
She really did a great job of it!
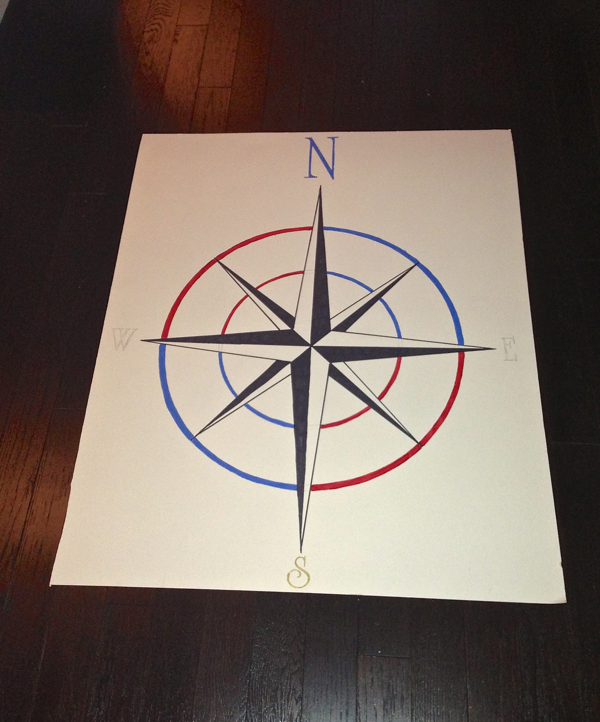
I used her directions and made up a template for reference.
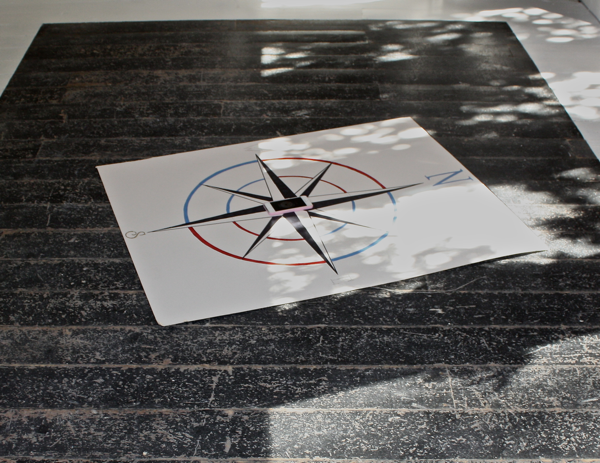
I wanted to be able to see if the size and general layout worked in the space.
This is what I came up with.
The red and blue circles worked but I wasn’t sure I wanted it so “poppy”
More faded and subtle perhaps…
and the small letters just weren’t enough…
I am very glad I took the time to go through the process of making the template, it helped me form a plan and seeing it in the mudroom was a huge help with planning scale.
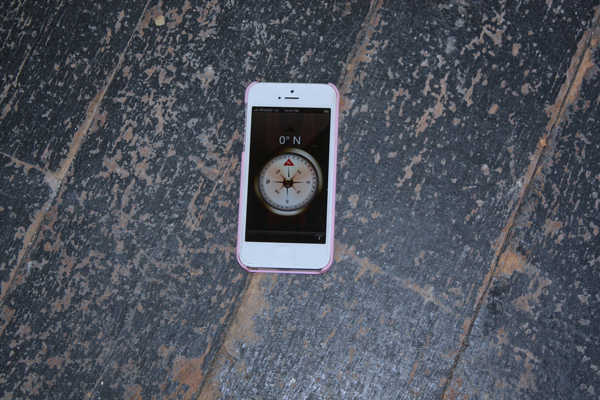
I started by using the “compass” app on my iphone to find true North.
Very handy!
By laying the iPhone pointing North on top of my template I got a fairly accurate idea of what the completed compass would look like.
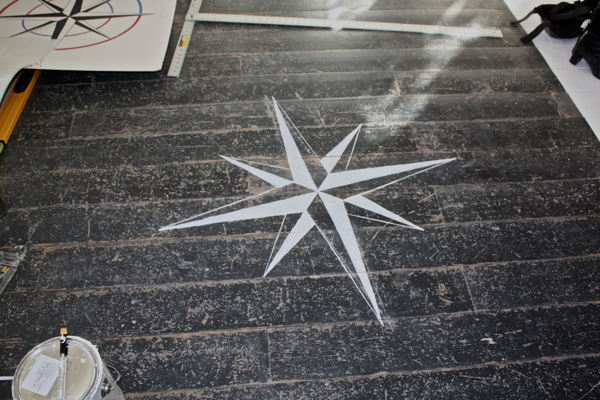
Starting at the centre point and working out from there I measured all my lines and started filling them in.
I soon realized that painting over 100 year old pine boards was a bit more challenging than painting on mat board!
I mottled the white paint to look old and random.
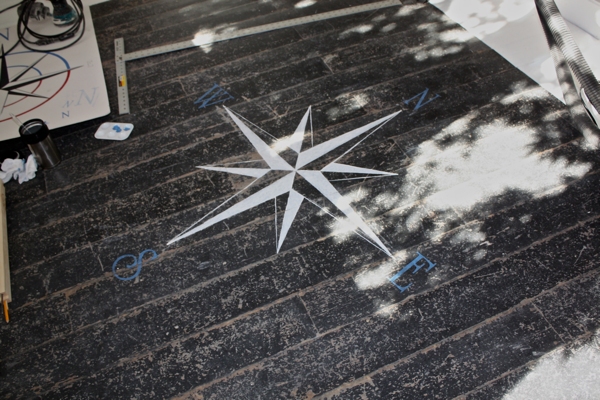
Then I stencilled the north south east and west.
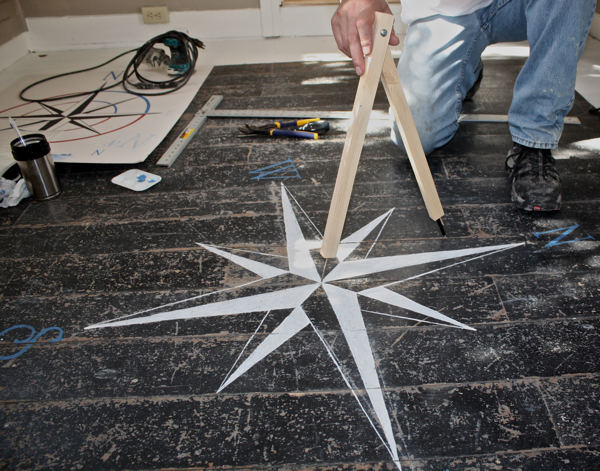
Kent made this large compass with two pieces of wood to draw the circles.
I found a white pencil crayon worked well to mark the lines then I just painted over them with the blue paint.
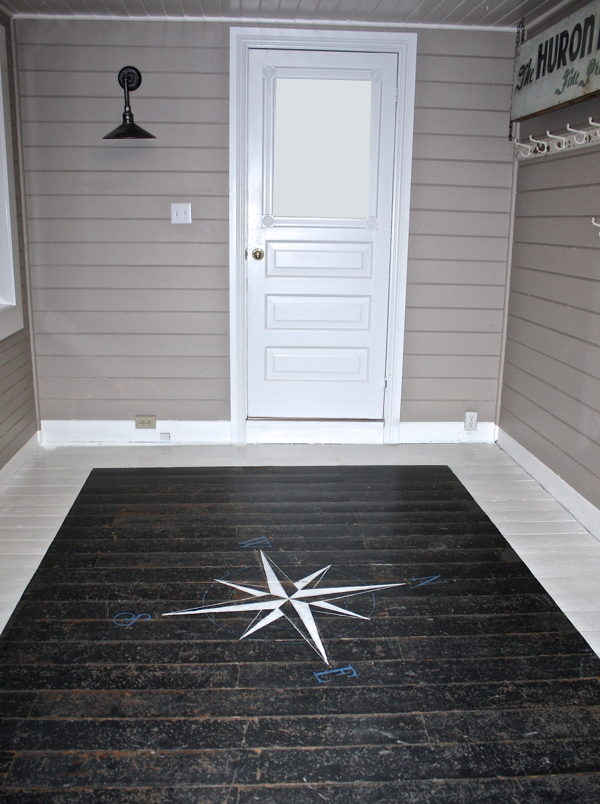
This is the finished floor with three topcoats to seal the paint.
Now, I would love to put everything back in the room and take a nice pic to show you but…
We are not quite there yet.
There is so much going on over there!!! ( you could see maylay through the window in the door to the kitchen this morning so I had to fill it in with a white box to hide the chaos!)
in fact…
So much is going on that I have exactly ten minutes to finish this post and get it published before Kent starts losing patience with me…
We have a very long list of things yet to do today.
Jess & Brad are coming home for the weekend and I need to hustle if they are going to have any walking room.
I can’t wait to hear what they think of the progress so far!
Fingers crossed!!
Wishing all of you a fantastic weekend!

I am sharing this post at: Best of the Weekend Party, FCF Linky Party, Feathered Nest Friday, Party Junk 211, My Repurposed Life, The Cottage Market, Inspiration Monday Party, That DIY Party,
