Well…
I sort of gave the surprise away didn’t I!
I know I got your attention with Industrial Lamp so without further ado…
lets see how we got there shall we!
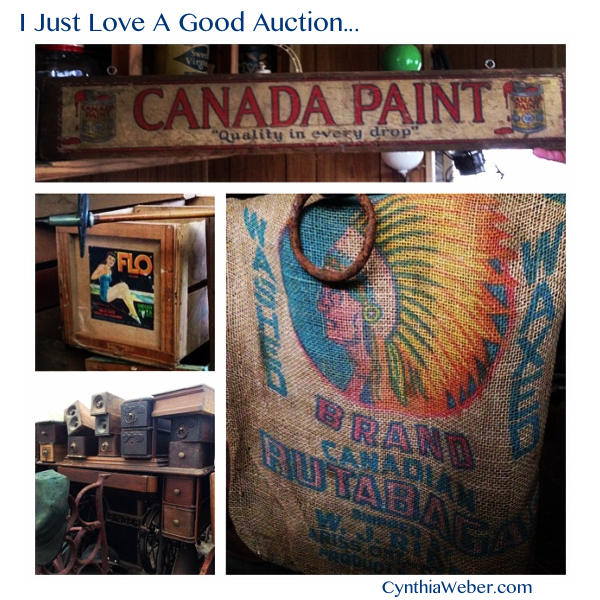
On Saturday Kent and I went to a HUGE country auction.
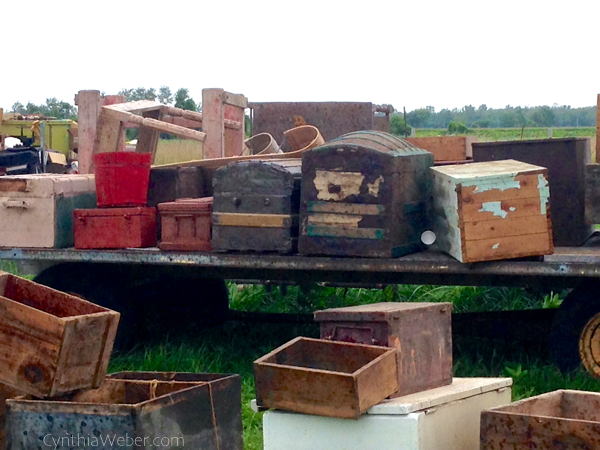
Field after field…
Machinery parts, furniture, collectables, signs, wood…
Wagons filled to overflowing…
Barn piled to the rafters…
It was quite unbelievable actually!
We had no intention of buying anything… because we are moving!!!
But, It was just so tempting!
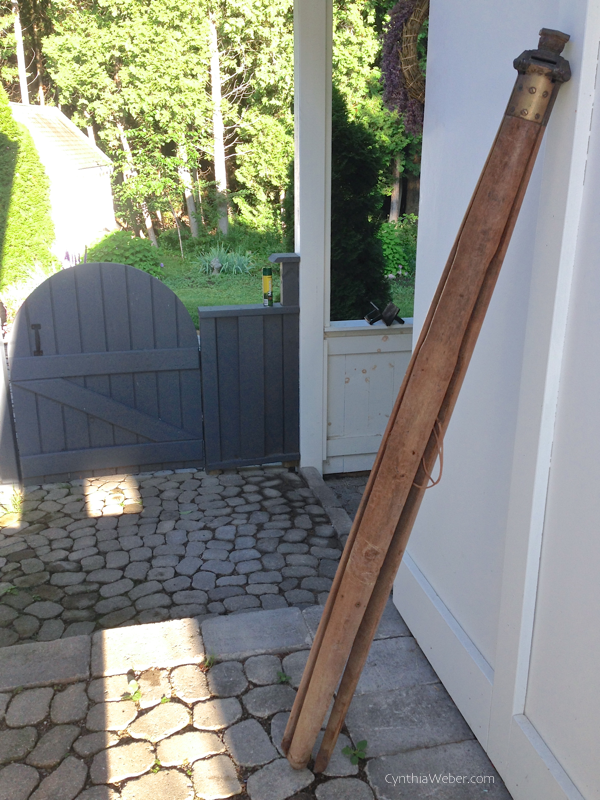
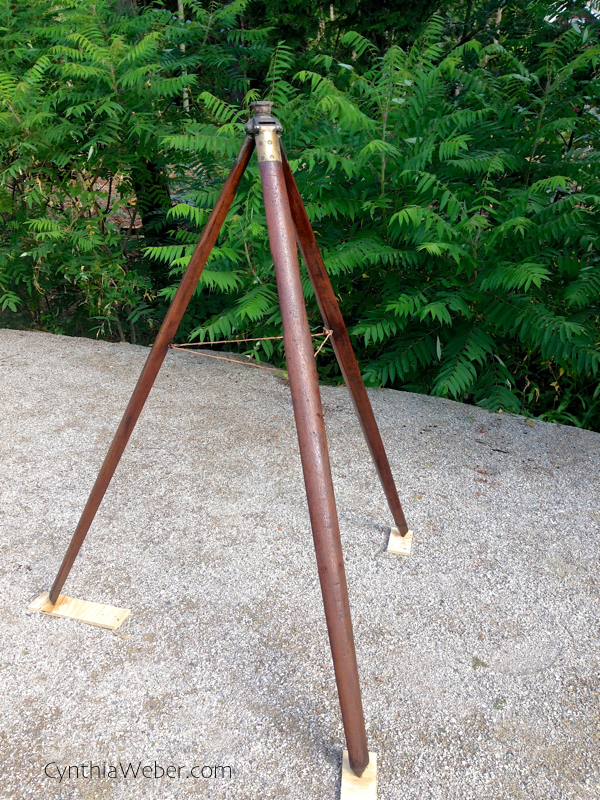
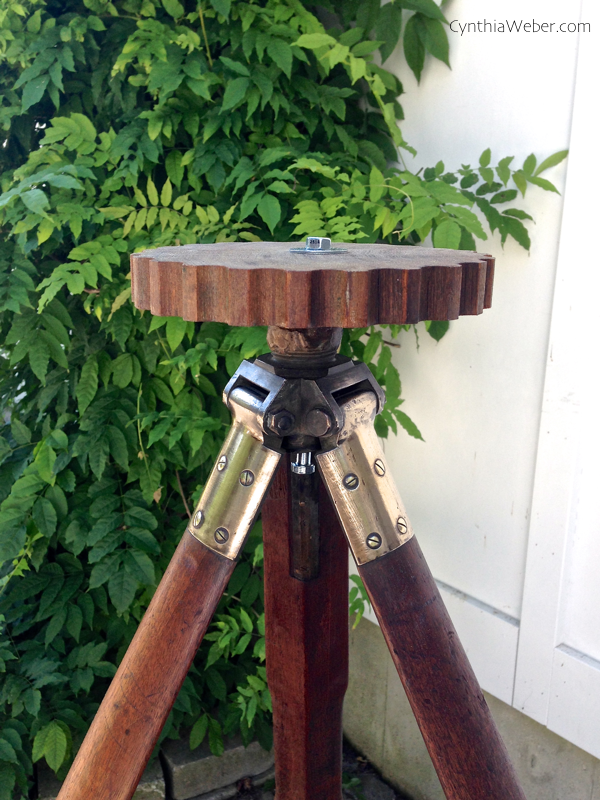
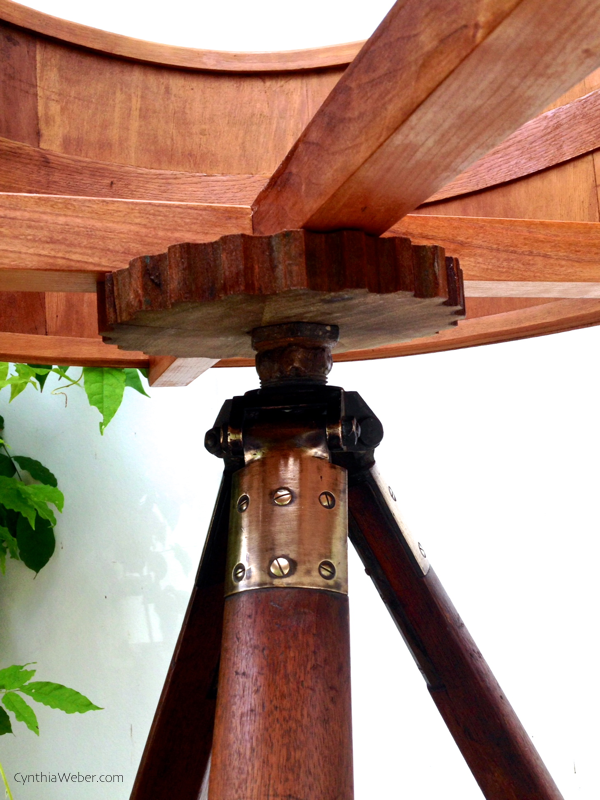
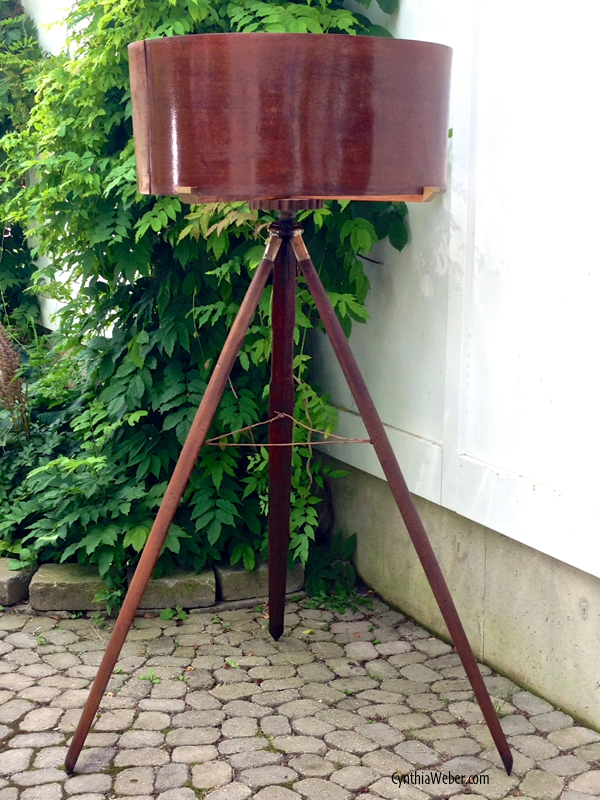
The first thing we bought was this antique surveyors tripod.
It was all taped up & dusty, leaning at the side of the barn.
I knew it was a great piece and luckily Kent agreed!
We tried to keep ourselves in-check for the rest of the sale.
The goal was to have a nice day, a break from packing up the house and client projects.
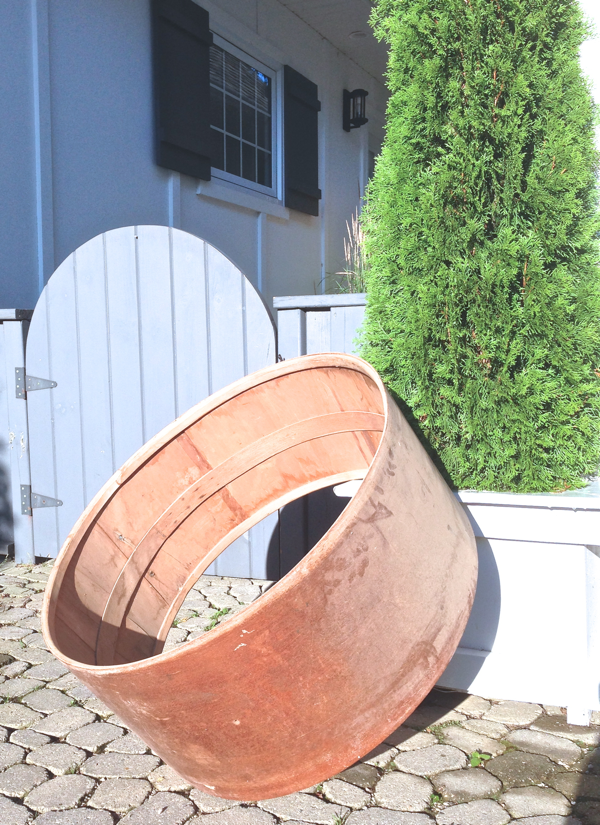
A bit later on in the afternoon we did buy a few more things including a pair of adorable buggy stools, a drapery rod with iron finials, some tinware, old brass propellers ( don’t ask, that was all Kent! ) two miniature toy cannons ( again, don’t ask ) and a large mahogany drum hoop.
The hoop was pretty tough but we thought it was neat and it sold for $1.00 so… there you go.
While loading our items into the car I got an idea…
Sunday afternoon we got to work…
Kent cleaned up the tripod and gave it a coat of danish oil…
It looked better already!
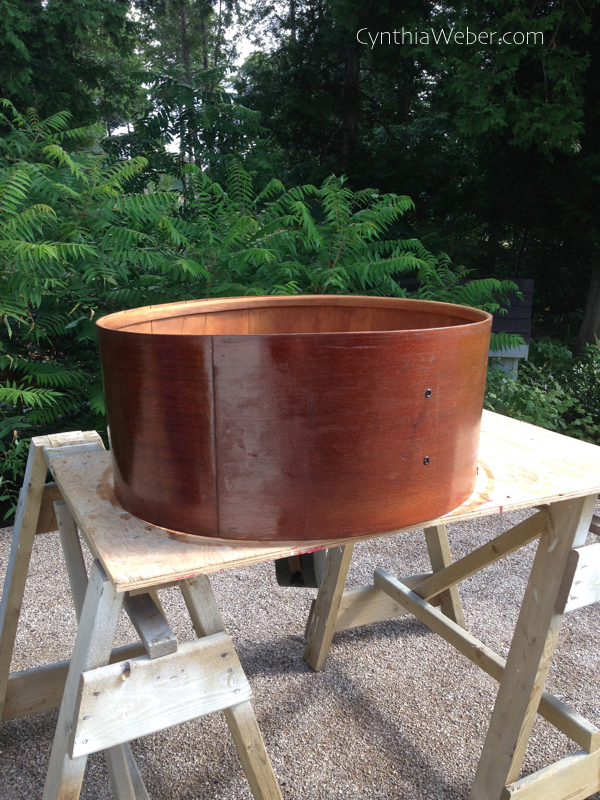
Then he did the same for the hoop!
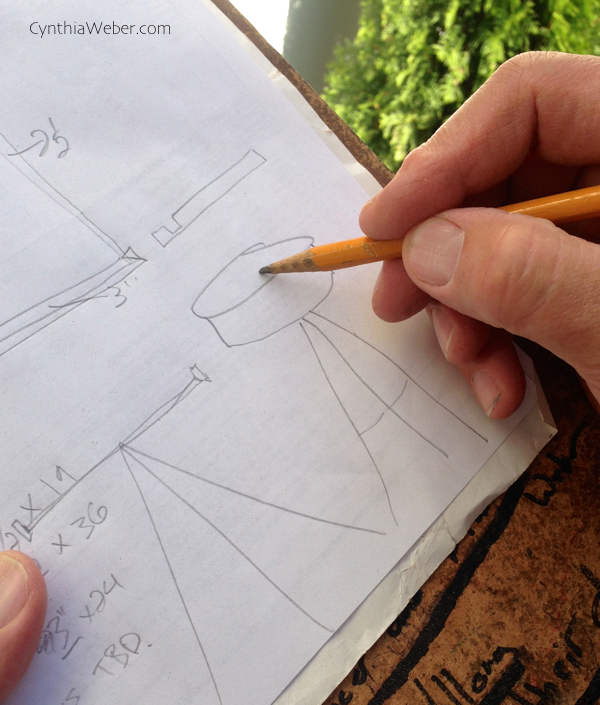
We sketched out the plan for the lamp…
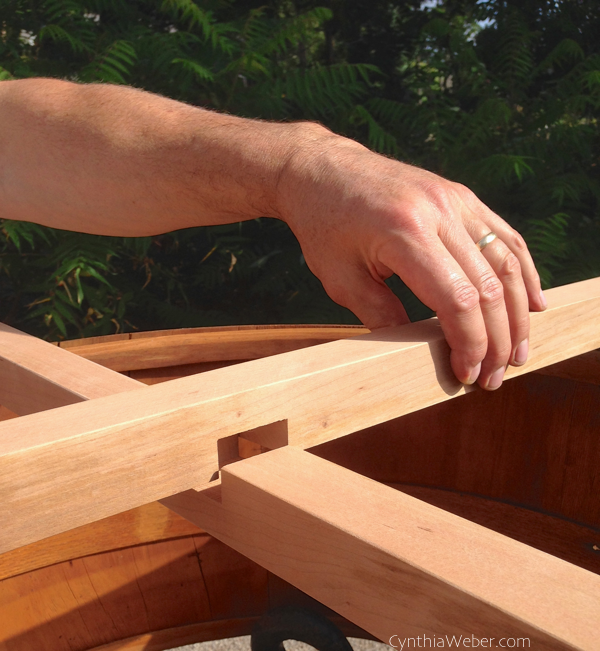
We knew we wanted some interesting cross pieces to support the hoop…
Kent found some cherry and cut two strips.
Then he notched them.
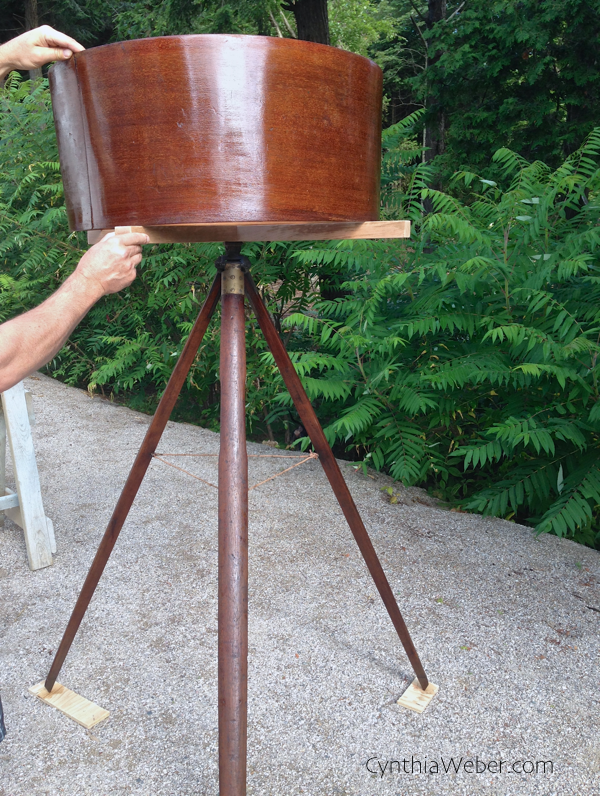
We set the hoop on the cross pieces and Kent marked where to notch the outside edges.
He wanted a groove to set it down into but since the hoop is slightly warped ( just like me… ) every piece needed to be marked seperatly.
This gave a great base structure to hold the hoop up but he also wanted another plate for stability and interest…
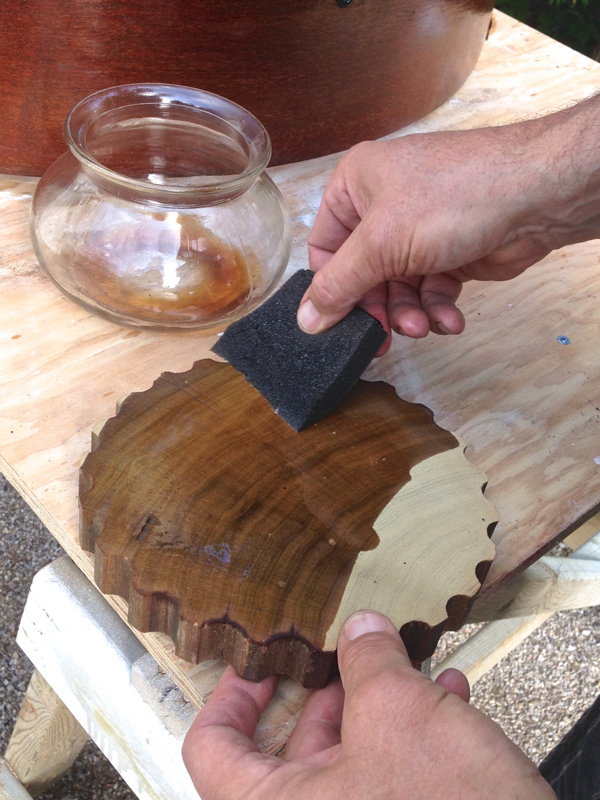
He found a disk that had been sliced from a porch post and stained it up.
It had interesting cutouts that gave the exact industrial feeling we wanted…
Putting the pieces together…
All that was left was the hoop…
Drum Roll Please…
Yup, I did just say that! 🙂
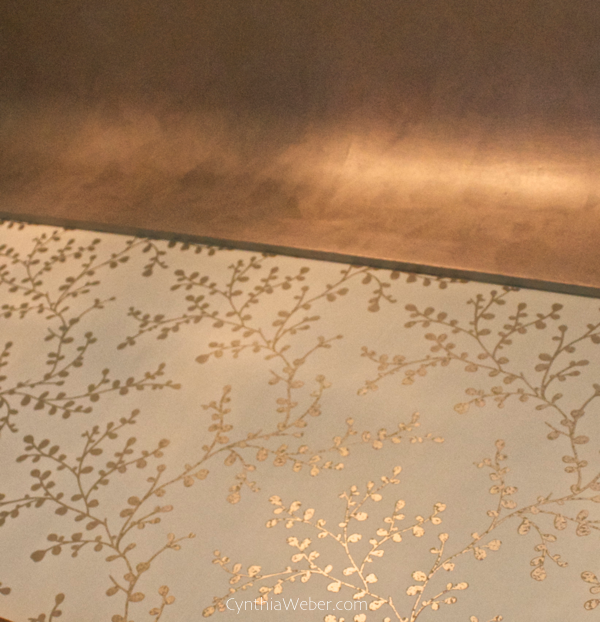
Kent decided that the cherry support pieces didn’t look interesting enough so he went back and cut them on an angle. Then we taped the corners off and painted them with the leftover matte metallic paint from Modern Masters that we had used for that huge surprise reno for my parents.
The colour worked perfectly to accent the brass fittings on the tripod.
I made Kent stand beside it so you could get a feeling for how big it is…
To light it up we will use a simple clip on spot light ( making sure that the bulb has no contact with the wood pieces… safety first ) with the cord hanging down through the legs of the tripod.
It will add to the industrial feeling of the piece nicely!
We had a great time doing this lamp. It was a wonderful creative distraction from packing boxes and taking loads to storage.
You may have noticed that I did not photograph the lamp inside the house…
That is because Hoop Top House has morphed into land of the never-ending boxes, plastic totes and bubble wrap…
Now the big question…
Where on earth are we going to put it in a tiny little cottage?????
I have no idea!
It’s back to packing for me…
But before I go… In other bloggy news…
I want to thank Ann from On Sutton Place for featuring me with two wonderful bloggers yesterday! Ann has such a lovely blog filled with beautiful ideas. Pop over and see her if you have some time… you will love it over there!
I am sharing this project at: Be Awesome Party over at Satori Design for Living,
