This weekend we had fun decorating eggs for Easter.
It was like a science experiment in our kitchen all day Sunday.
Last year we had just started blogging and we put together a tutorial on dying using natural dyes and adding herb relief patterns.
Here is the link if you missed it.
They turned out beautifully and I really wanted to do them again this year.
The dyes we used last year were onion skins, cabbage and beets.
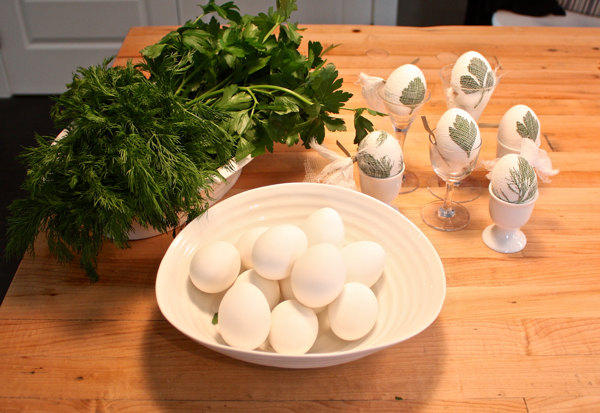
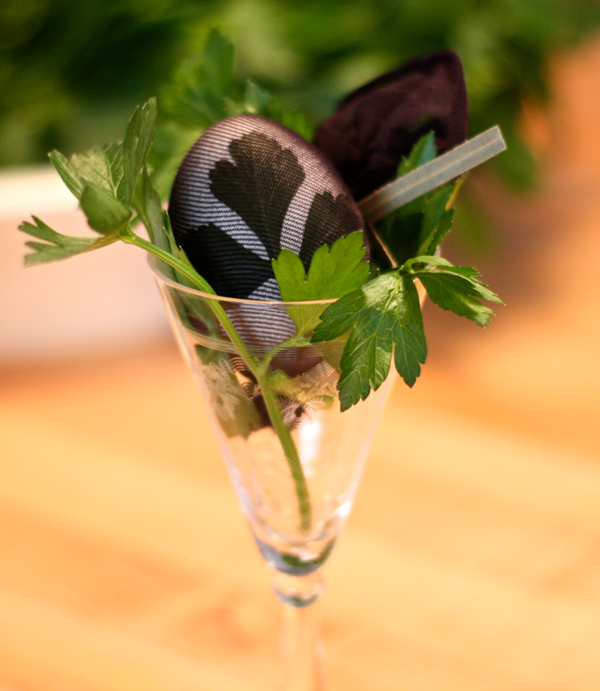
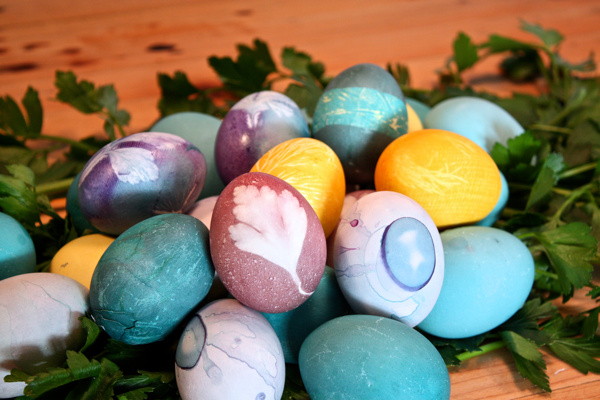
Flat leaf parsley gives a great pattern and the dill is beautiful too.
Here we are with some eggs ready to go.
I started with them wrapped in cheese cloth.
I was hoping for a nice yellow colour so we tried turmeric for that. Then berries and the old faithful red cabbage for blue and purple…
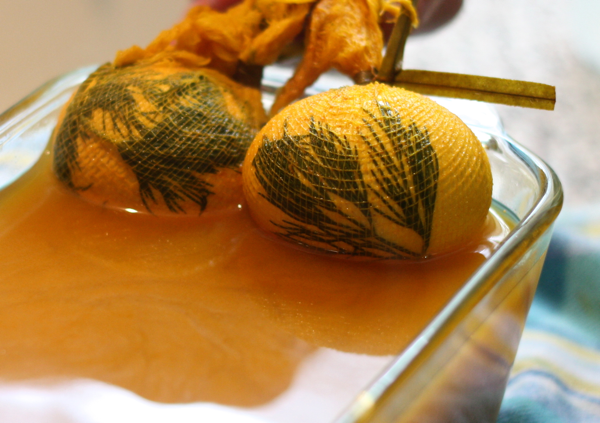
The turmeric did give the yellow but you need to keep stirring so the powder does not settle on the eggs.
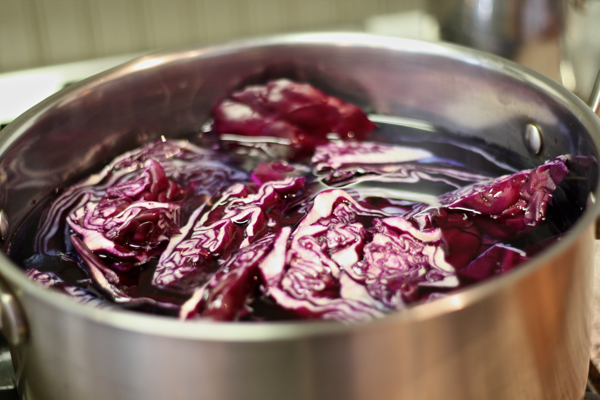
Red cabbage worked so well last year I wanted to try it again. The third pot had mixed berries cooked down and strained.
After taking the first batch out of each dye bath I found out that the cheese cloth wasn’t working as well as the nylons had so I went back to that method for the rest.
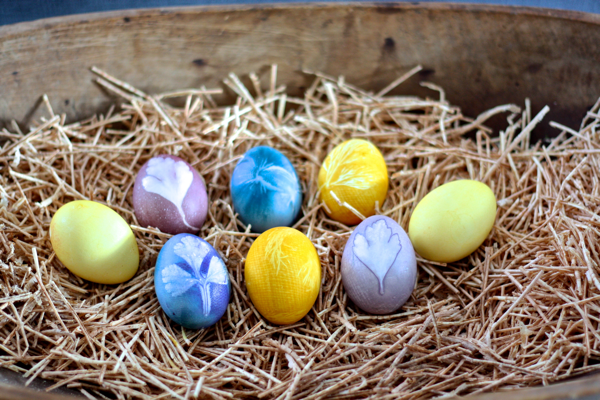
The colours were far different. The turmeric was very vibrant, you can see on the bottom row an example of the pattern the cheese cloth made on the first batch.
For some unknown reason, the cabbage gave an un-unified colour this year, very mottled and raging from blue to purple. Sometimes even on the same egg…
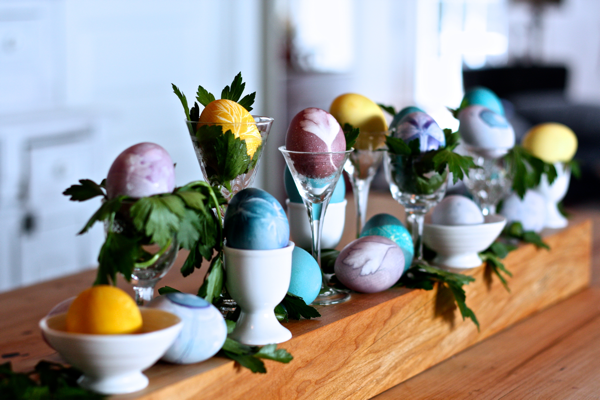
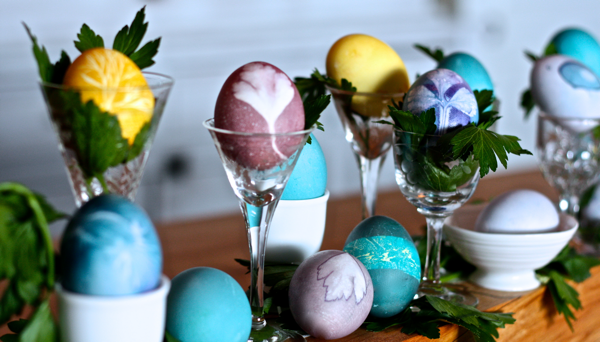
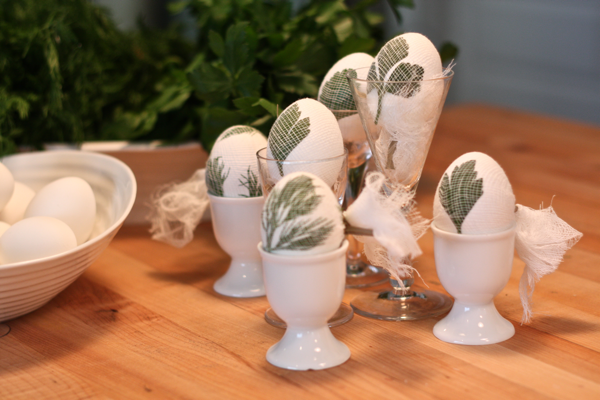
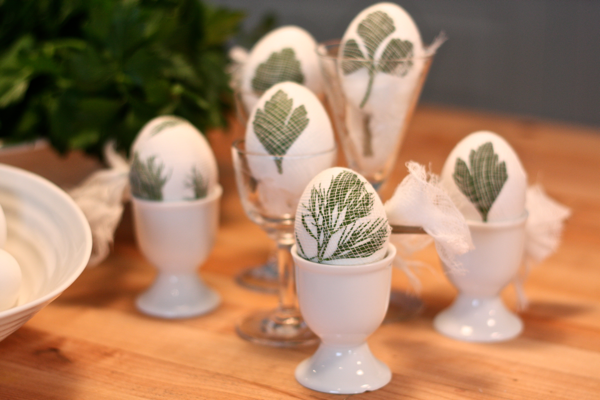
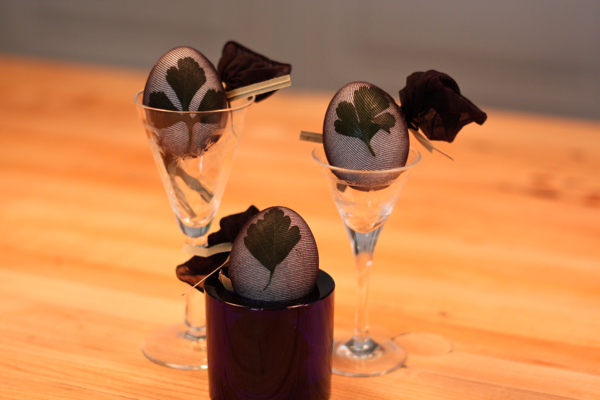
I styled them in vintage sherry glasses, egg cups and Sophie Conran bowls.
Due to the unusual colour we got from the cabbage I added a few drops of blue food colouring and let some eggs marinate for awhile…
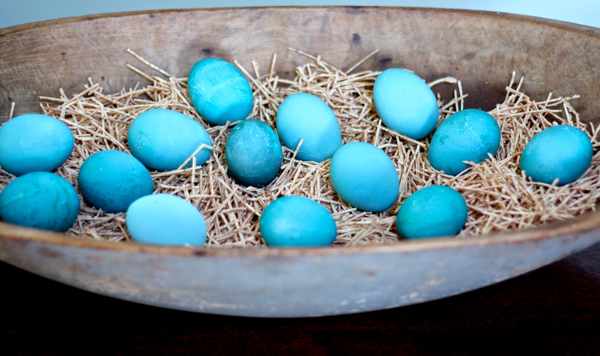
They became a brilliant teal and looked great all on their own in an antique dough bowl.
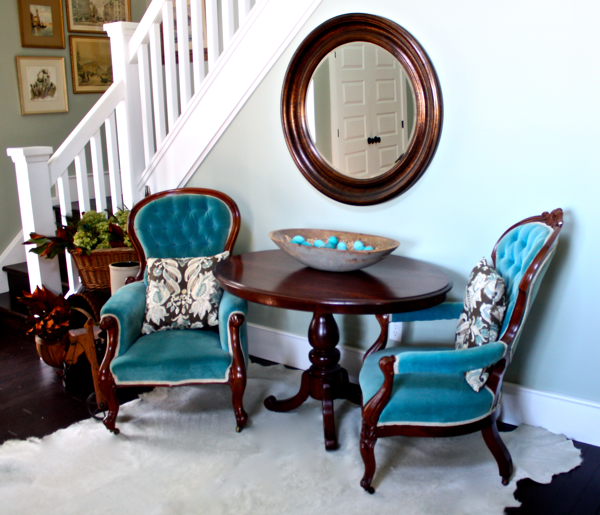
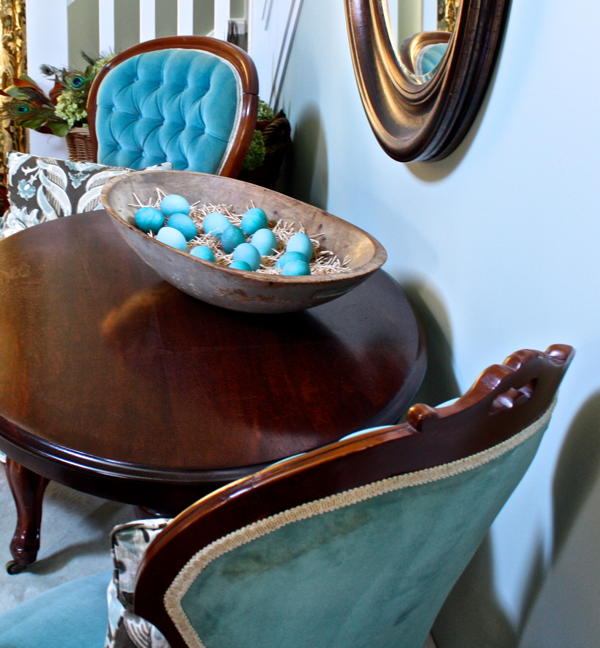
I like the tension of the primitive dough bowl sitting on the Victorian parlour table.
The hide rug adds another unexpected layer…
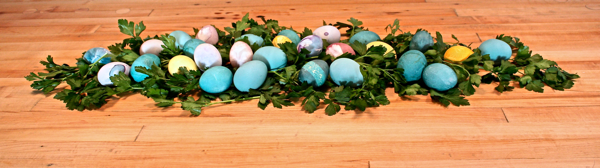
Using the island top as a rustic server I layered flat leaf parsley and placed the eggs …
We had a wonderful time and now the only question is…
How many times will egg salad be on the menu this week?!
Easter will be at my parents this year and Kent’s mom will also be joining us. These eggs will be long gone by then but perhaps a new batch will make their way to the celebration.
Kent’s maple syrup production is in full swing ( if you missed our snow picnic where we showed the process here is the link). We will take syrup to the Easter dinner to serve on egg cheese… an Easter tradition around our parts.
I am hungry just thinking about it!
Here is the recipe my mom uses.
It is from Edna Staebler’s book “More Food that Really Schmecks”
Egg Cheese also known as Easter Cheese
On another subject…
I came up with this today…
Do you think it will catch on?


Sharing over at Fox Hollow Cottage for it’s a Spring Thing link party

